
<strong>Walmart’s Hottest Toys for This Holiday Season</strong>

I’m an 80’s kid & I’ve been collecting stickers since then. So, they’ve been piling up, waiting for someday to be used. But I never knew what to do with them. Maybe I could put them on stationary, a letter or calendar. But I always thought, who is going to see them once that’s put away?
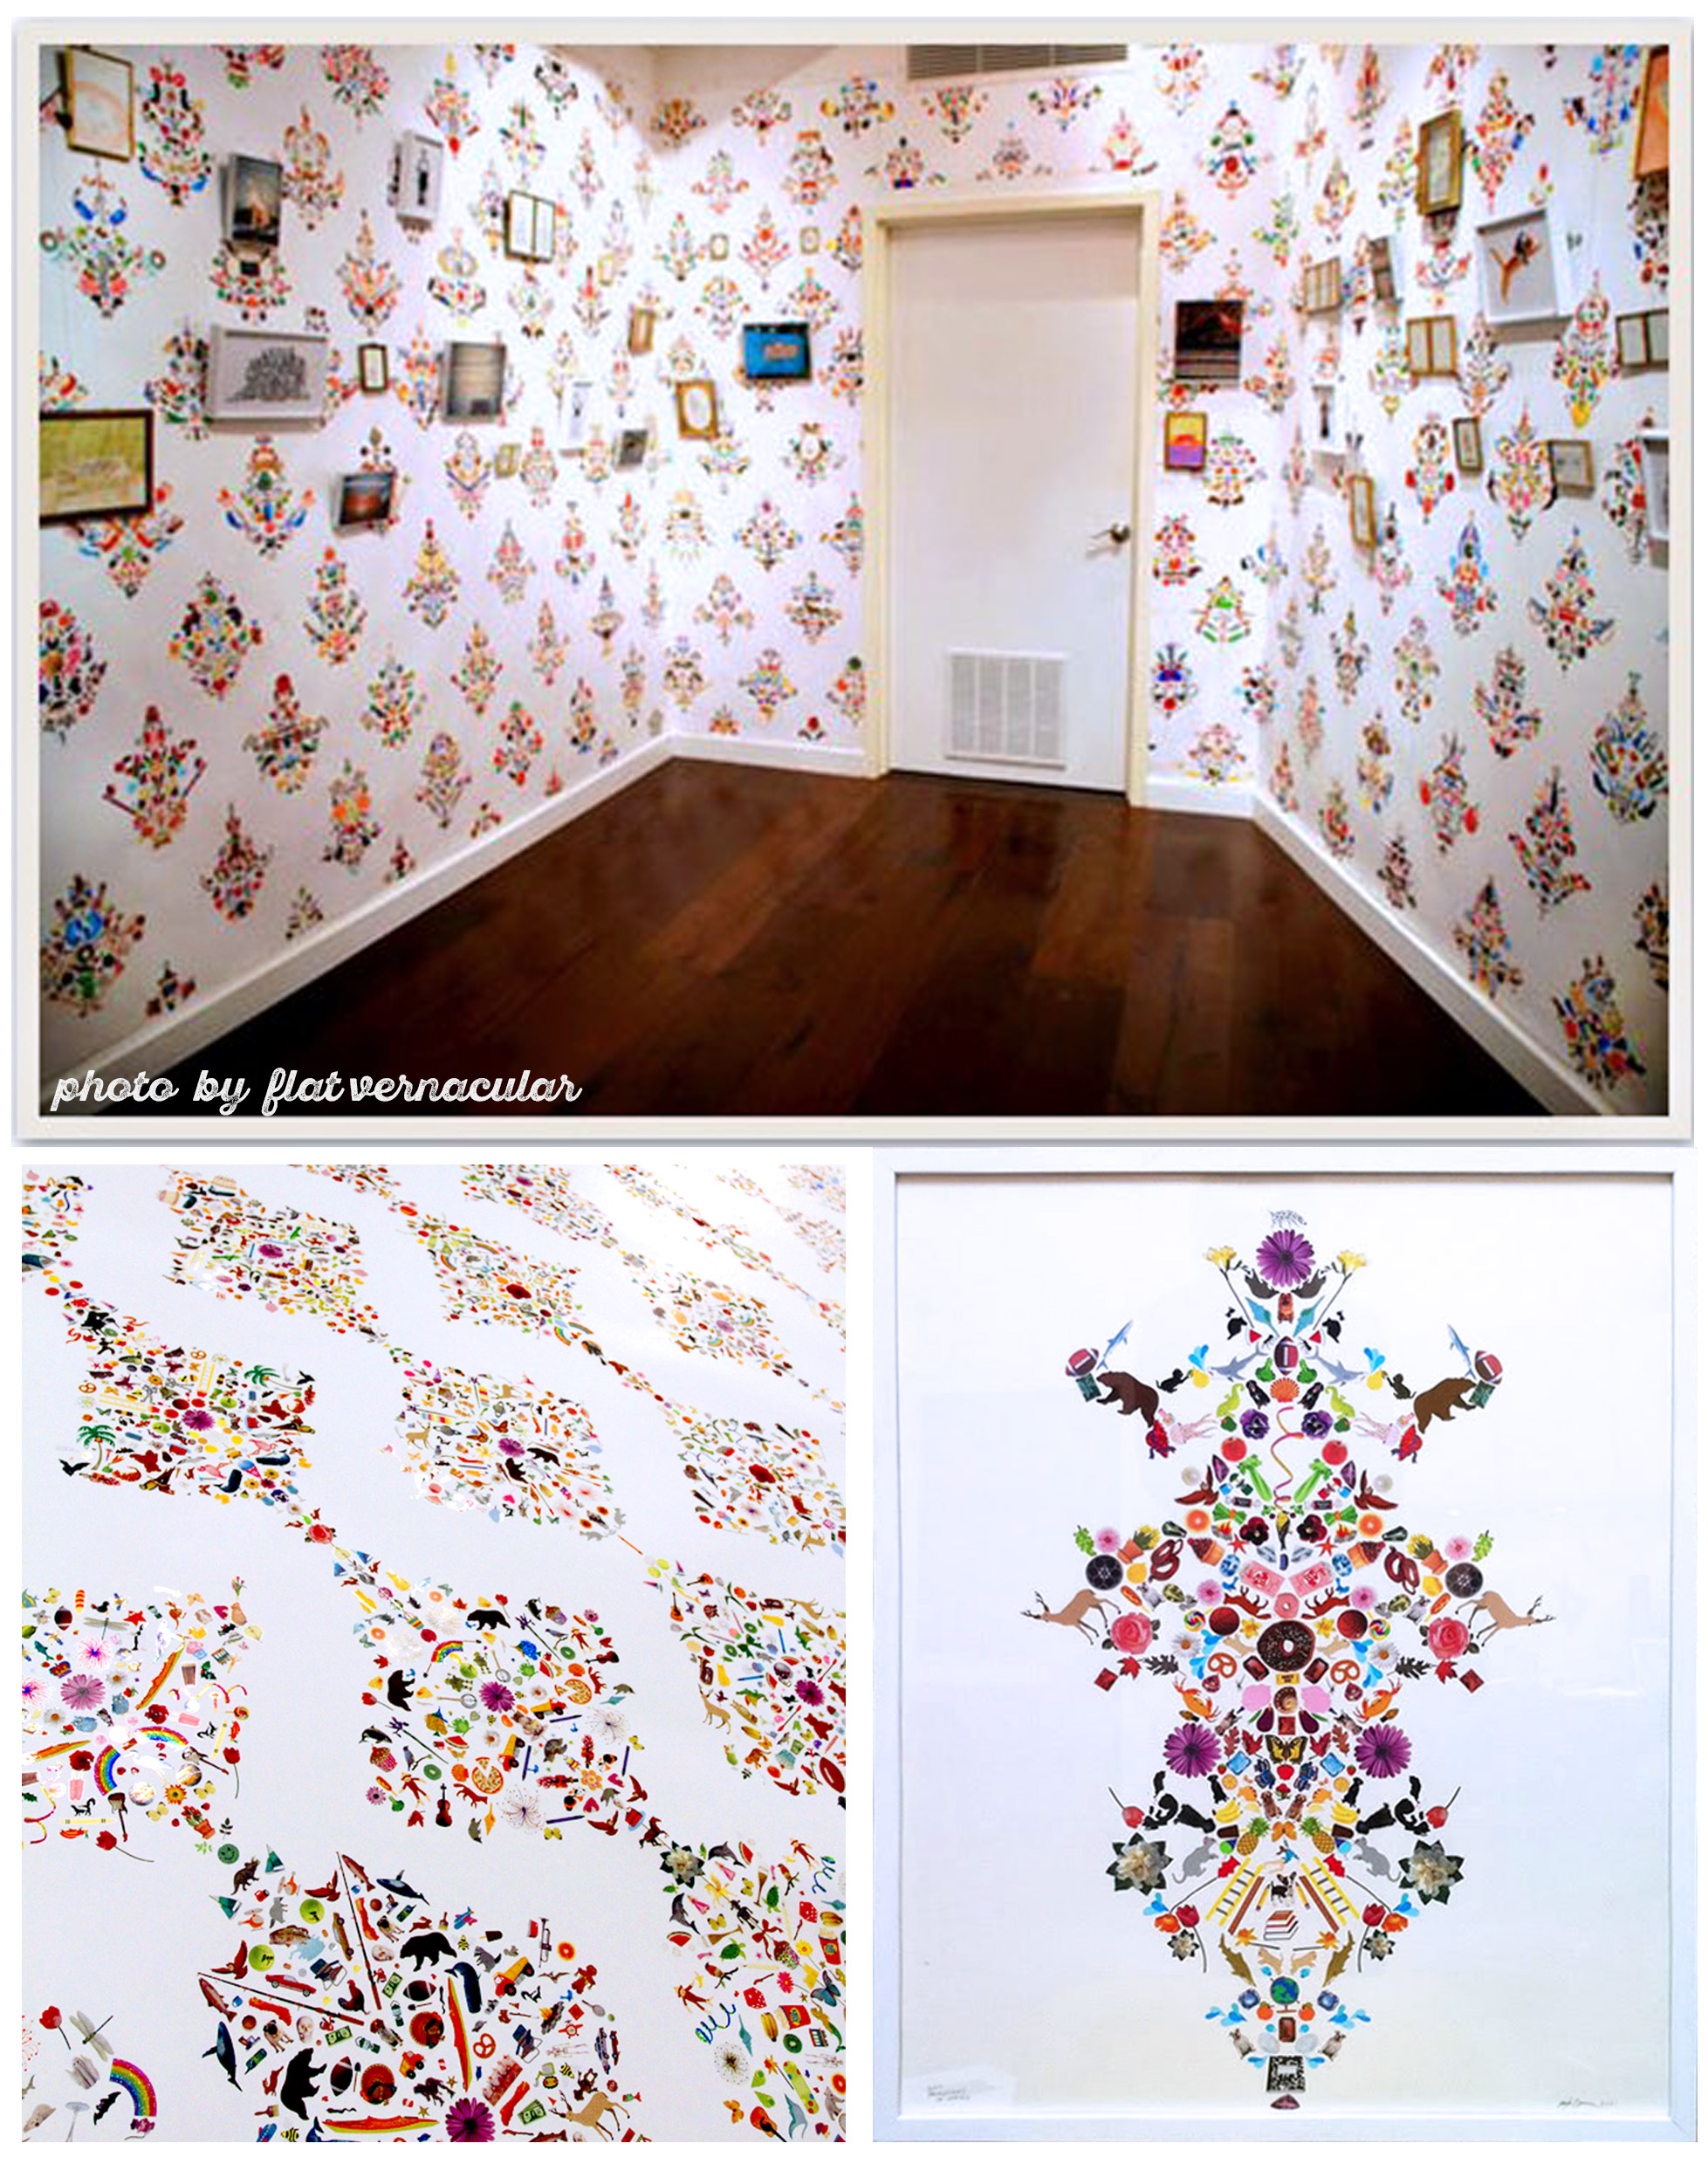
The first time I saw Payton Turner’s sticker art, a few years ago, I got so excited. I couldn’t believe this brilliant idea for unique art & wall paper!…Fast forward to now and I’m still SO excited about sticker art!
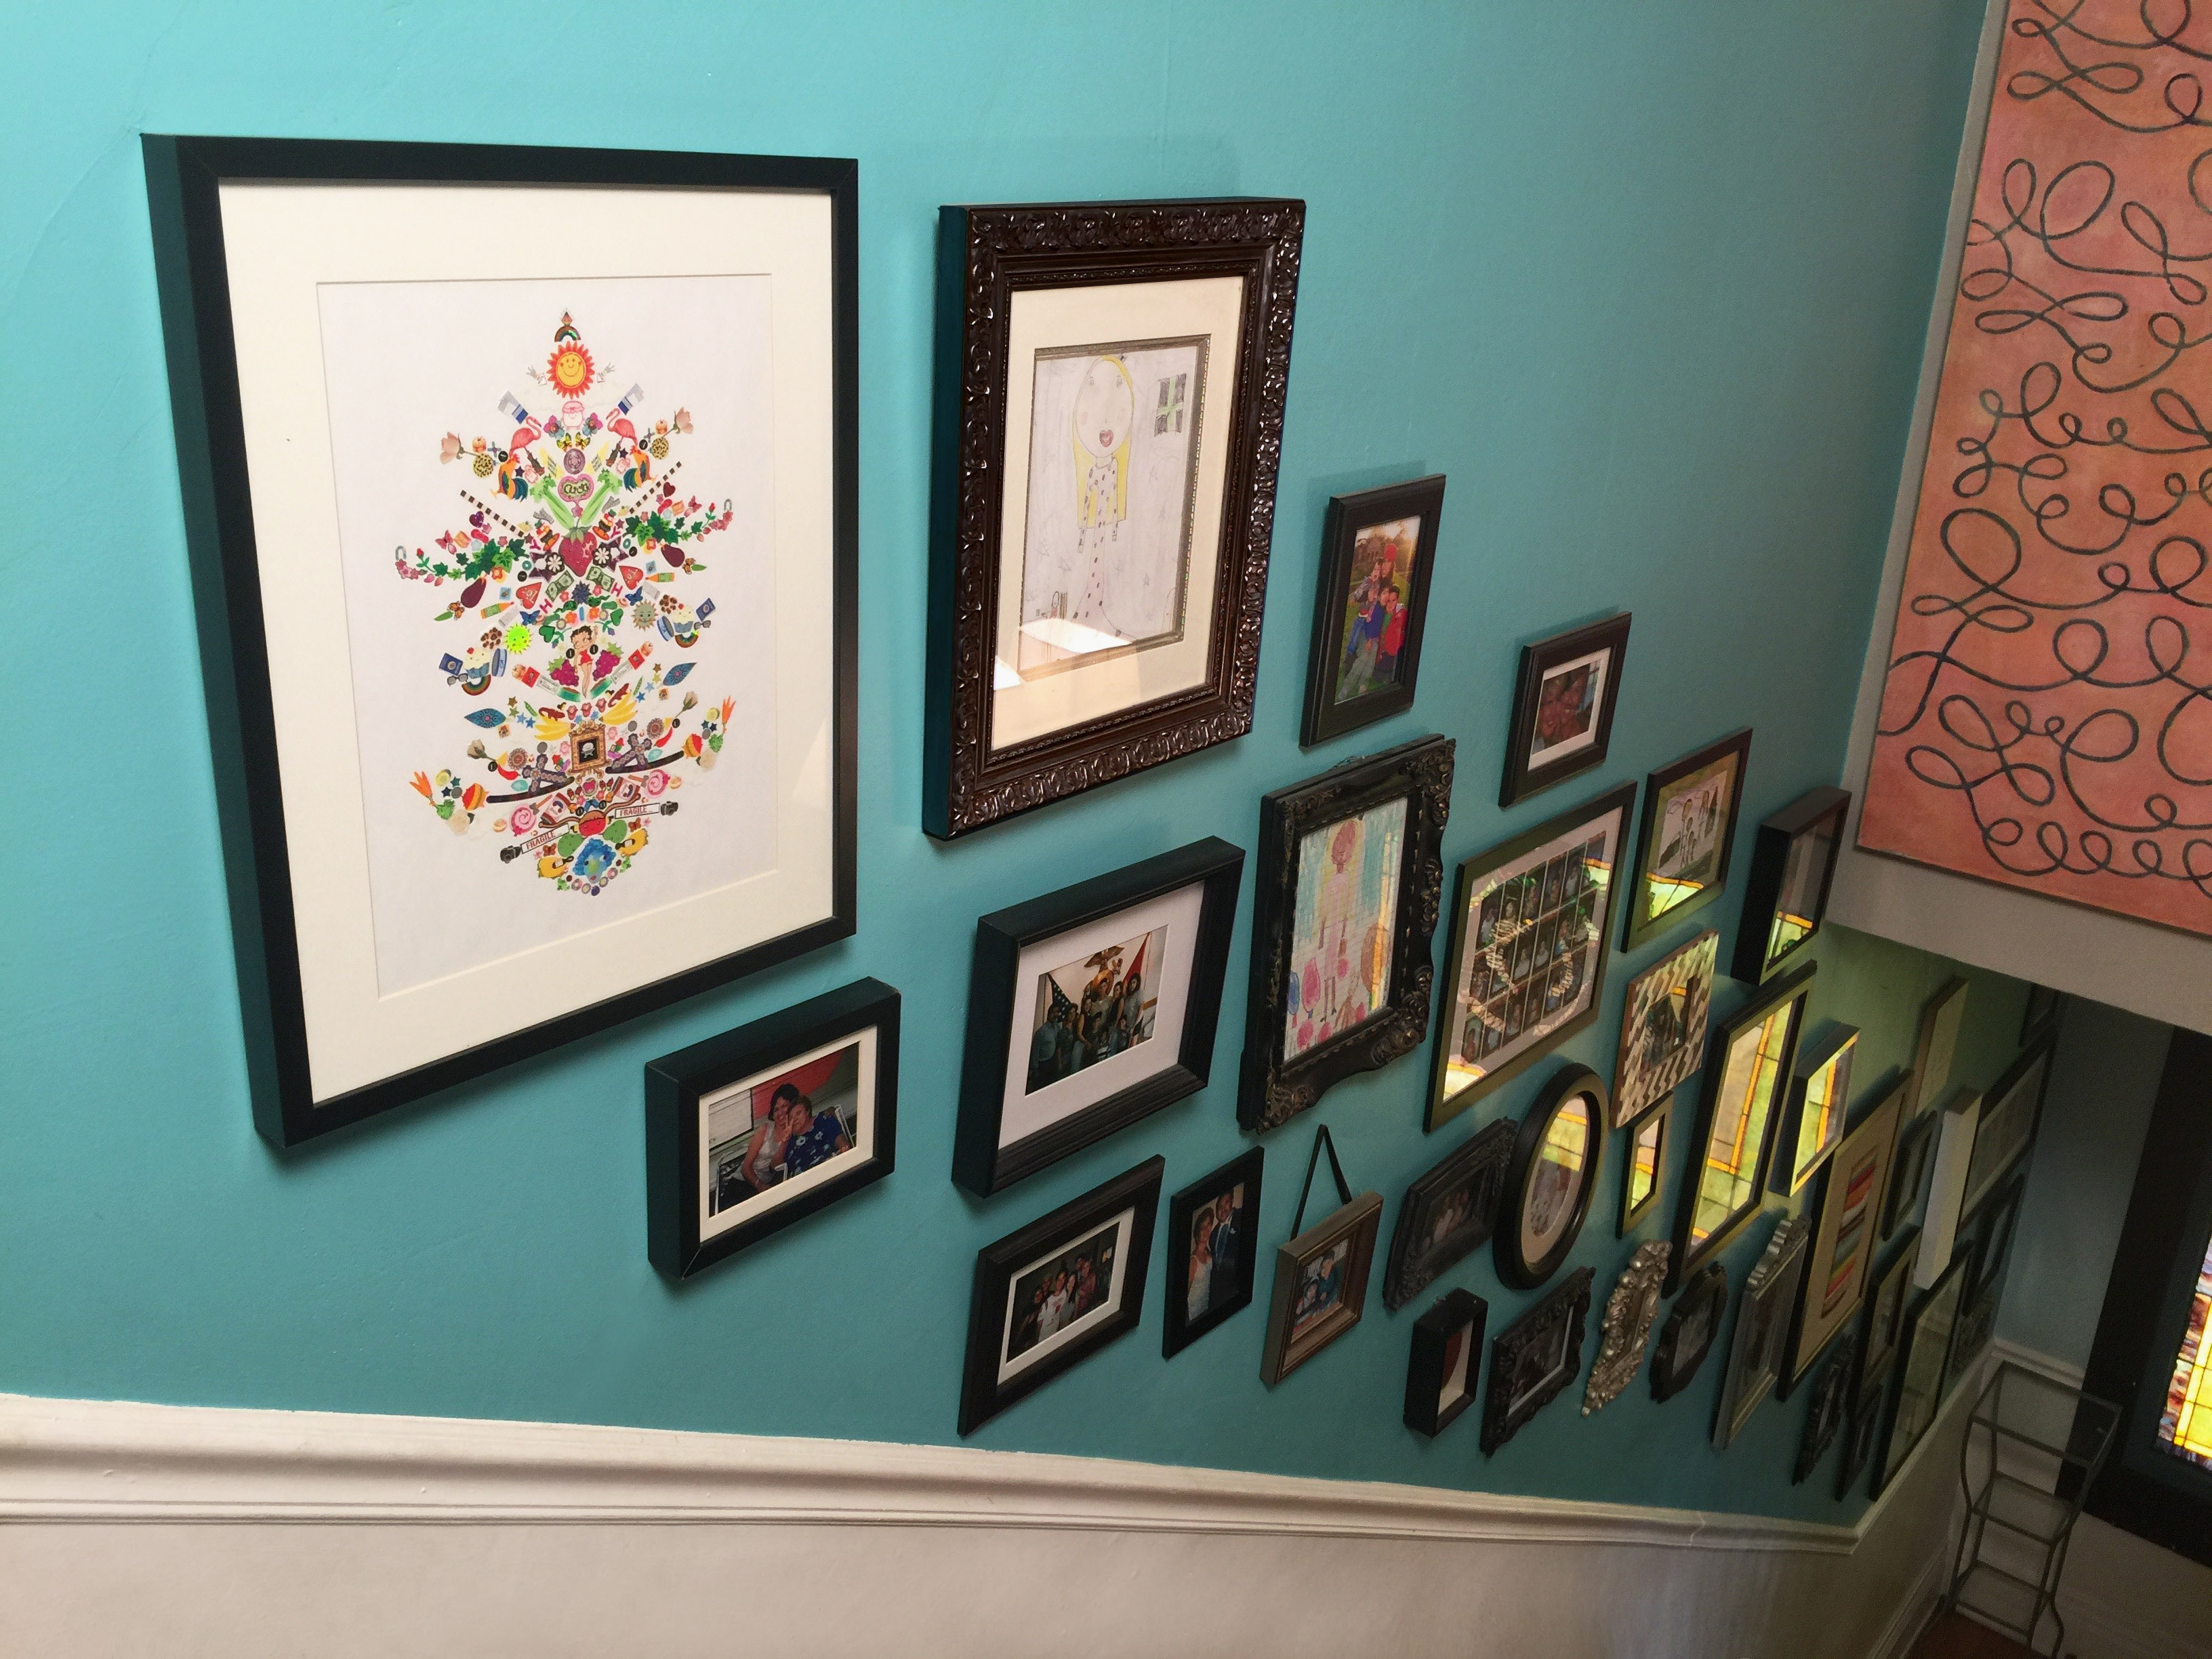 So far I’ve made several pieces. Some were for gifts to loved ones and some I made for myself. Here is one I did for my staircase picture wall. It fits right in with my playful home decor, suited for the 4 little kids that live here.
 I was so inspired to make sticker art on a nice piece of paper, because on a whole wall would be too time consuming. I think an art canvas is the way to go for this project!
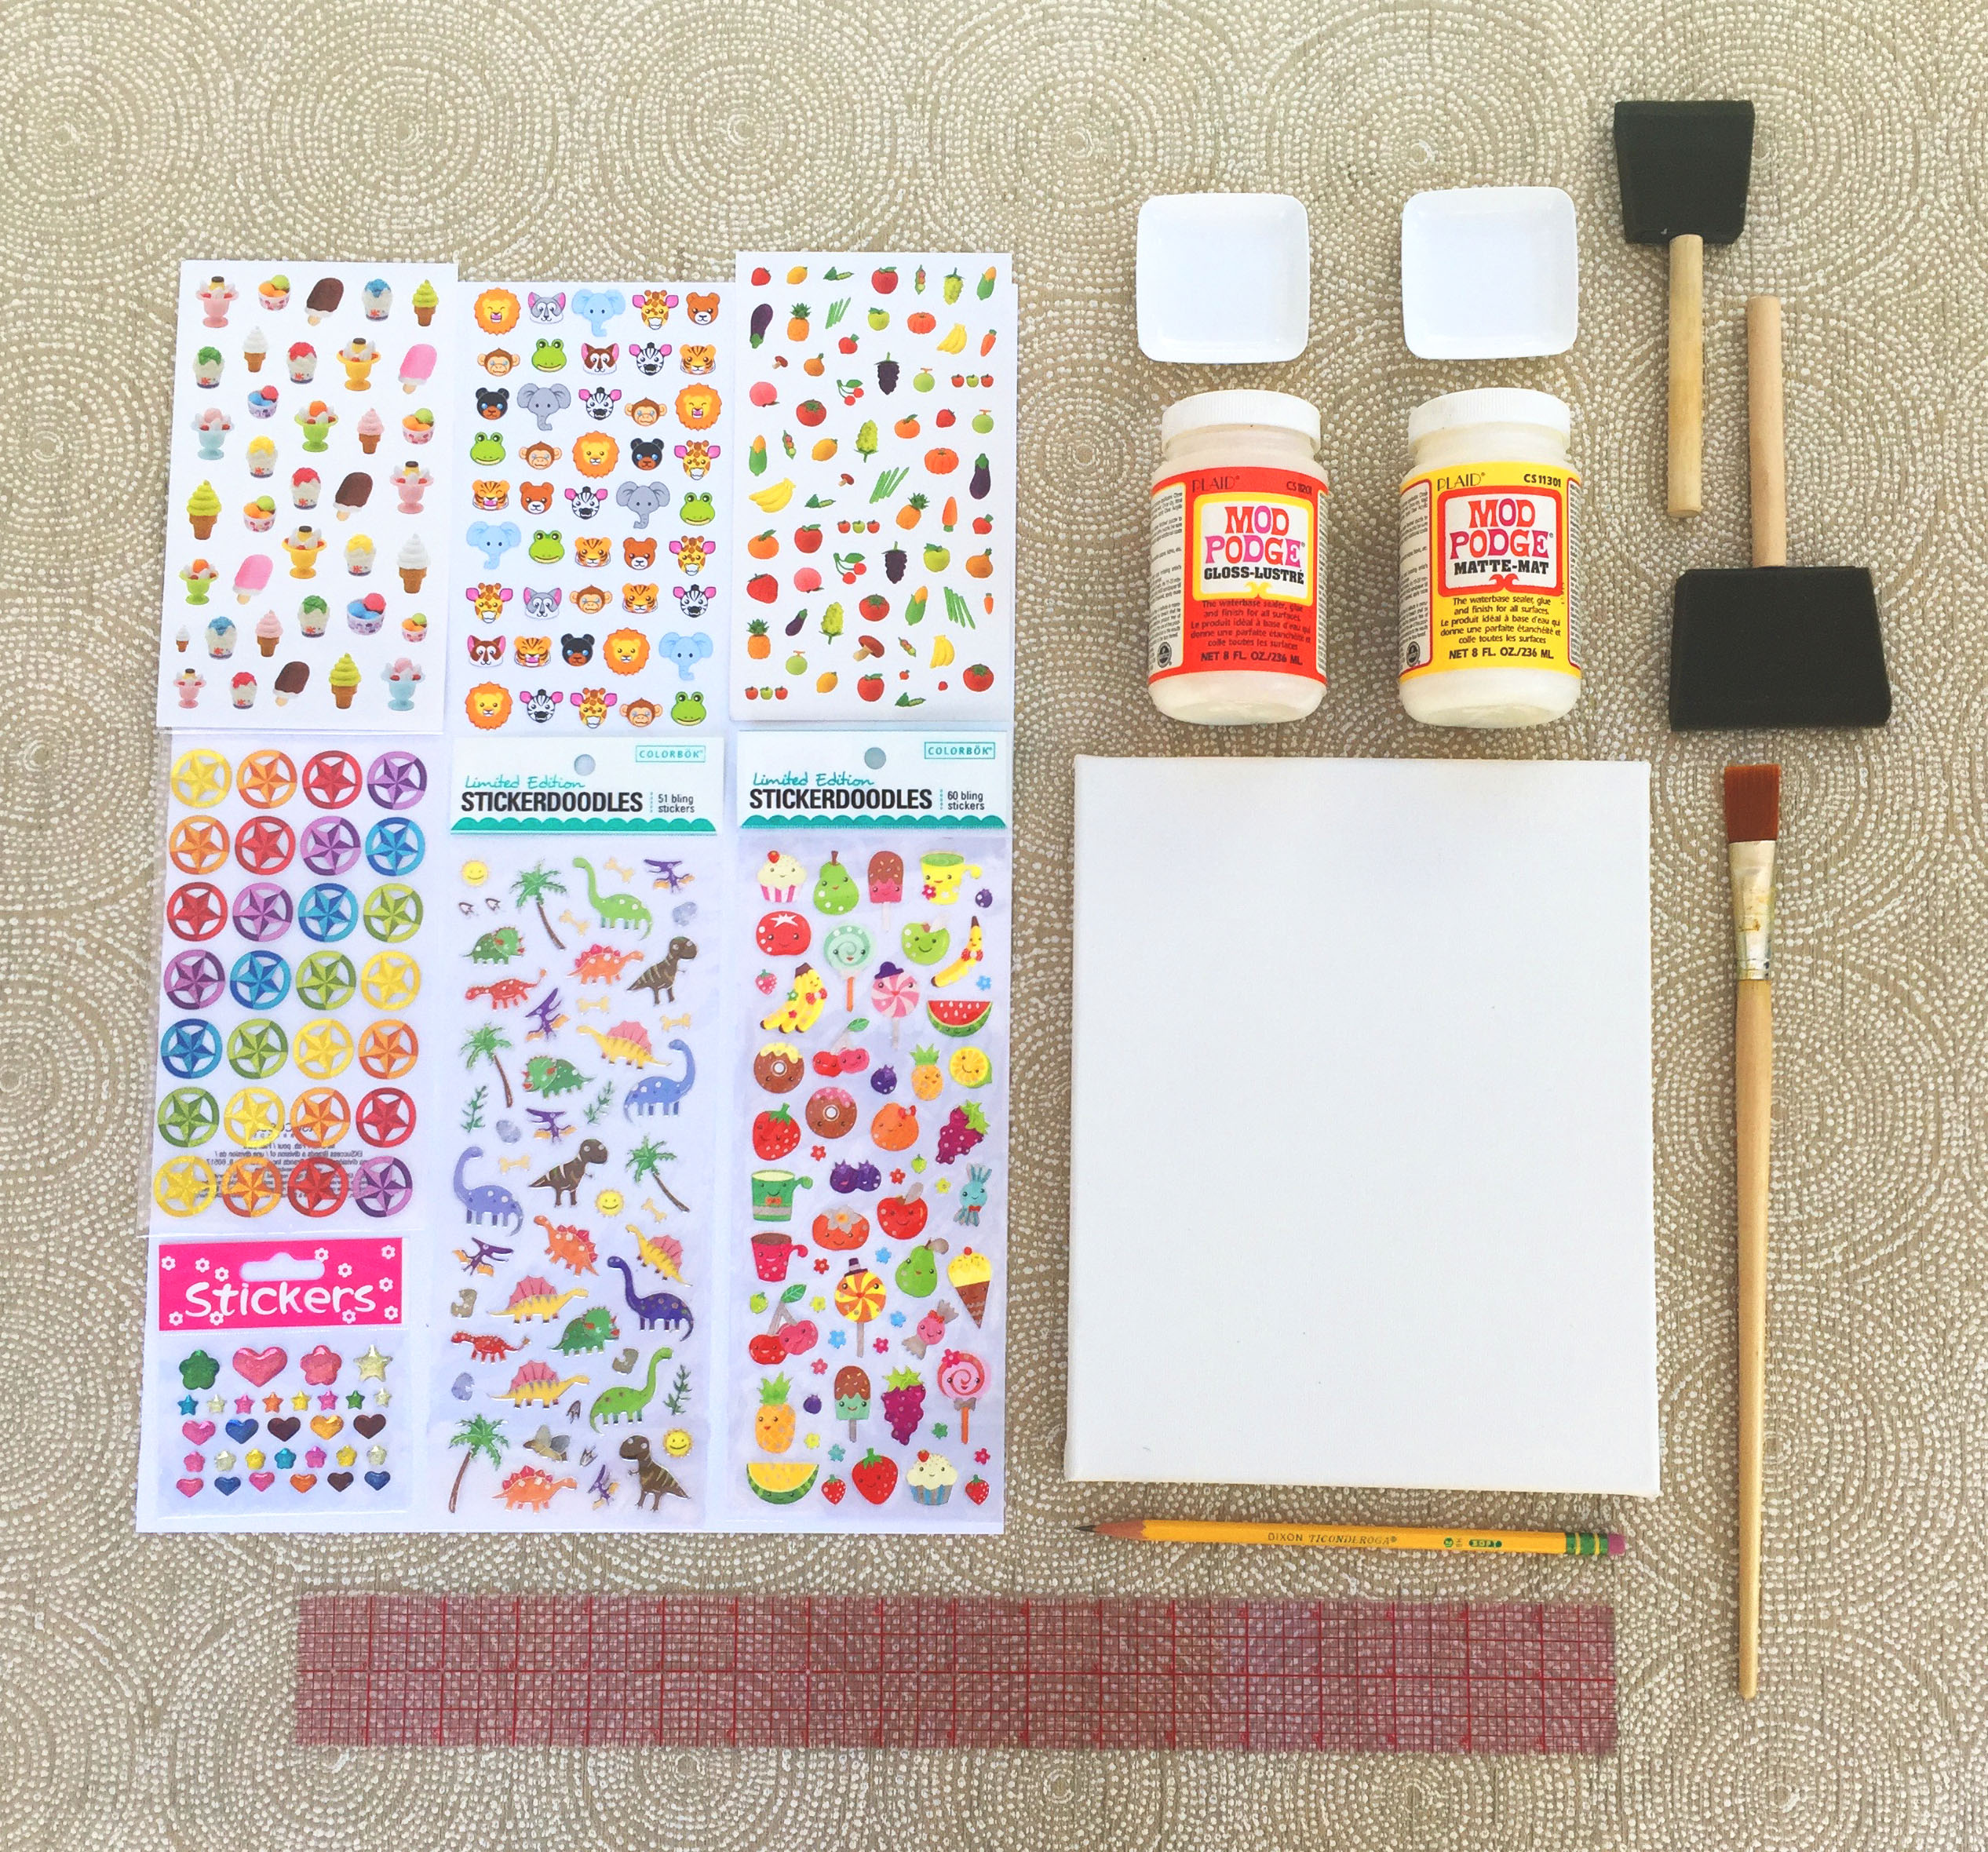
This is what you’ll need for this canvas art project:
• 8X10 art canvas (note: size is really your choice, the bigger the more stickers you will need)
• various stickers (note: make sure they are all flat, no 3D stickers, might need doubles of sticker sheets)
• ruler
• foam brushes
• brush
• pencil
• tweezers (not shown on picture)
• 2 small containers
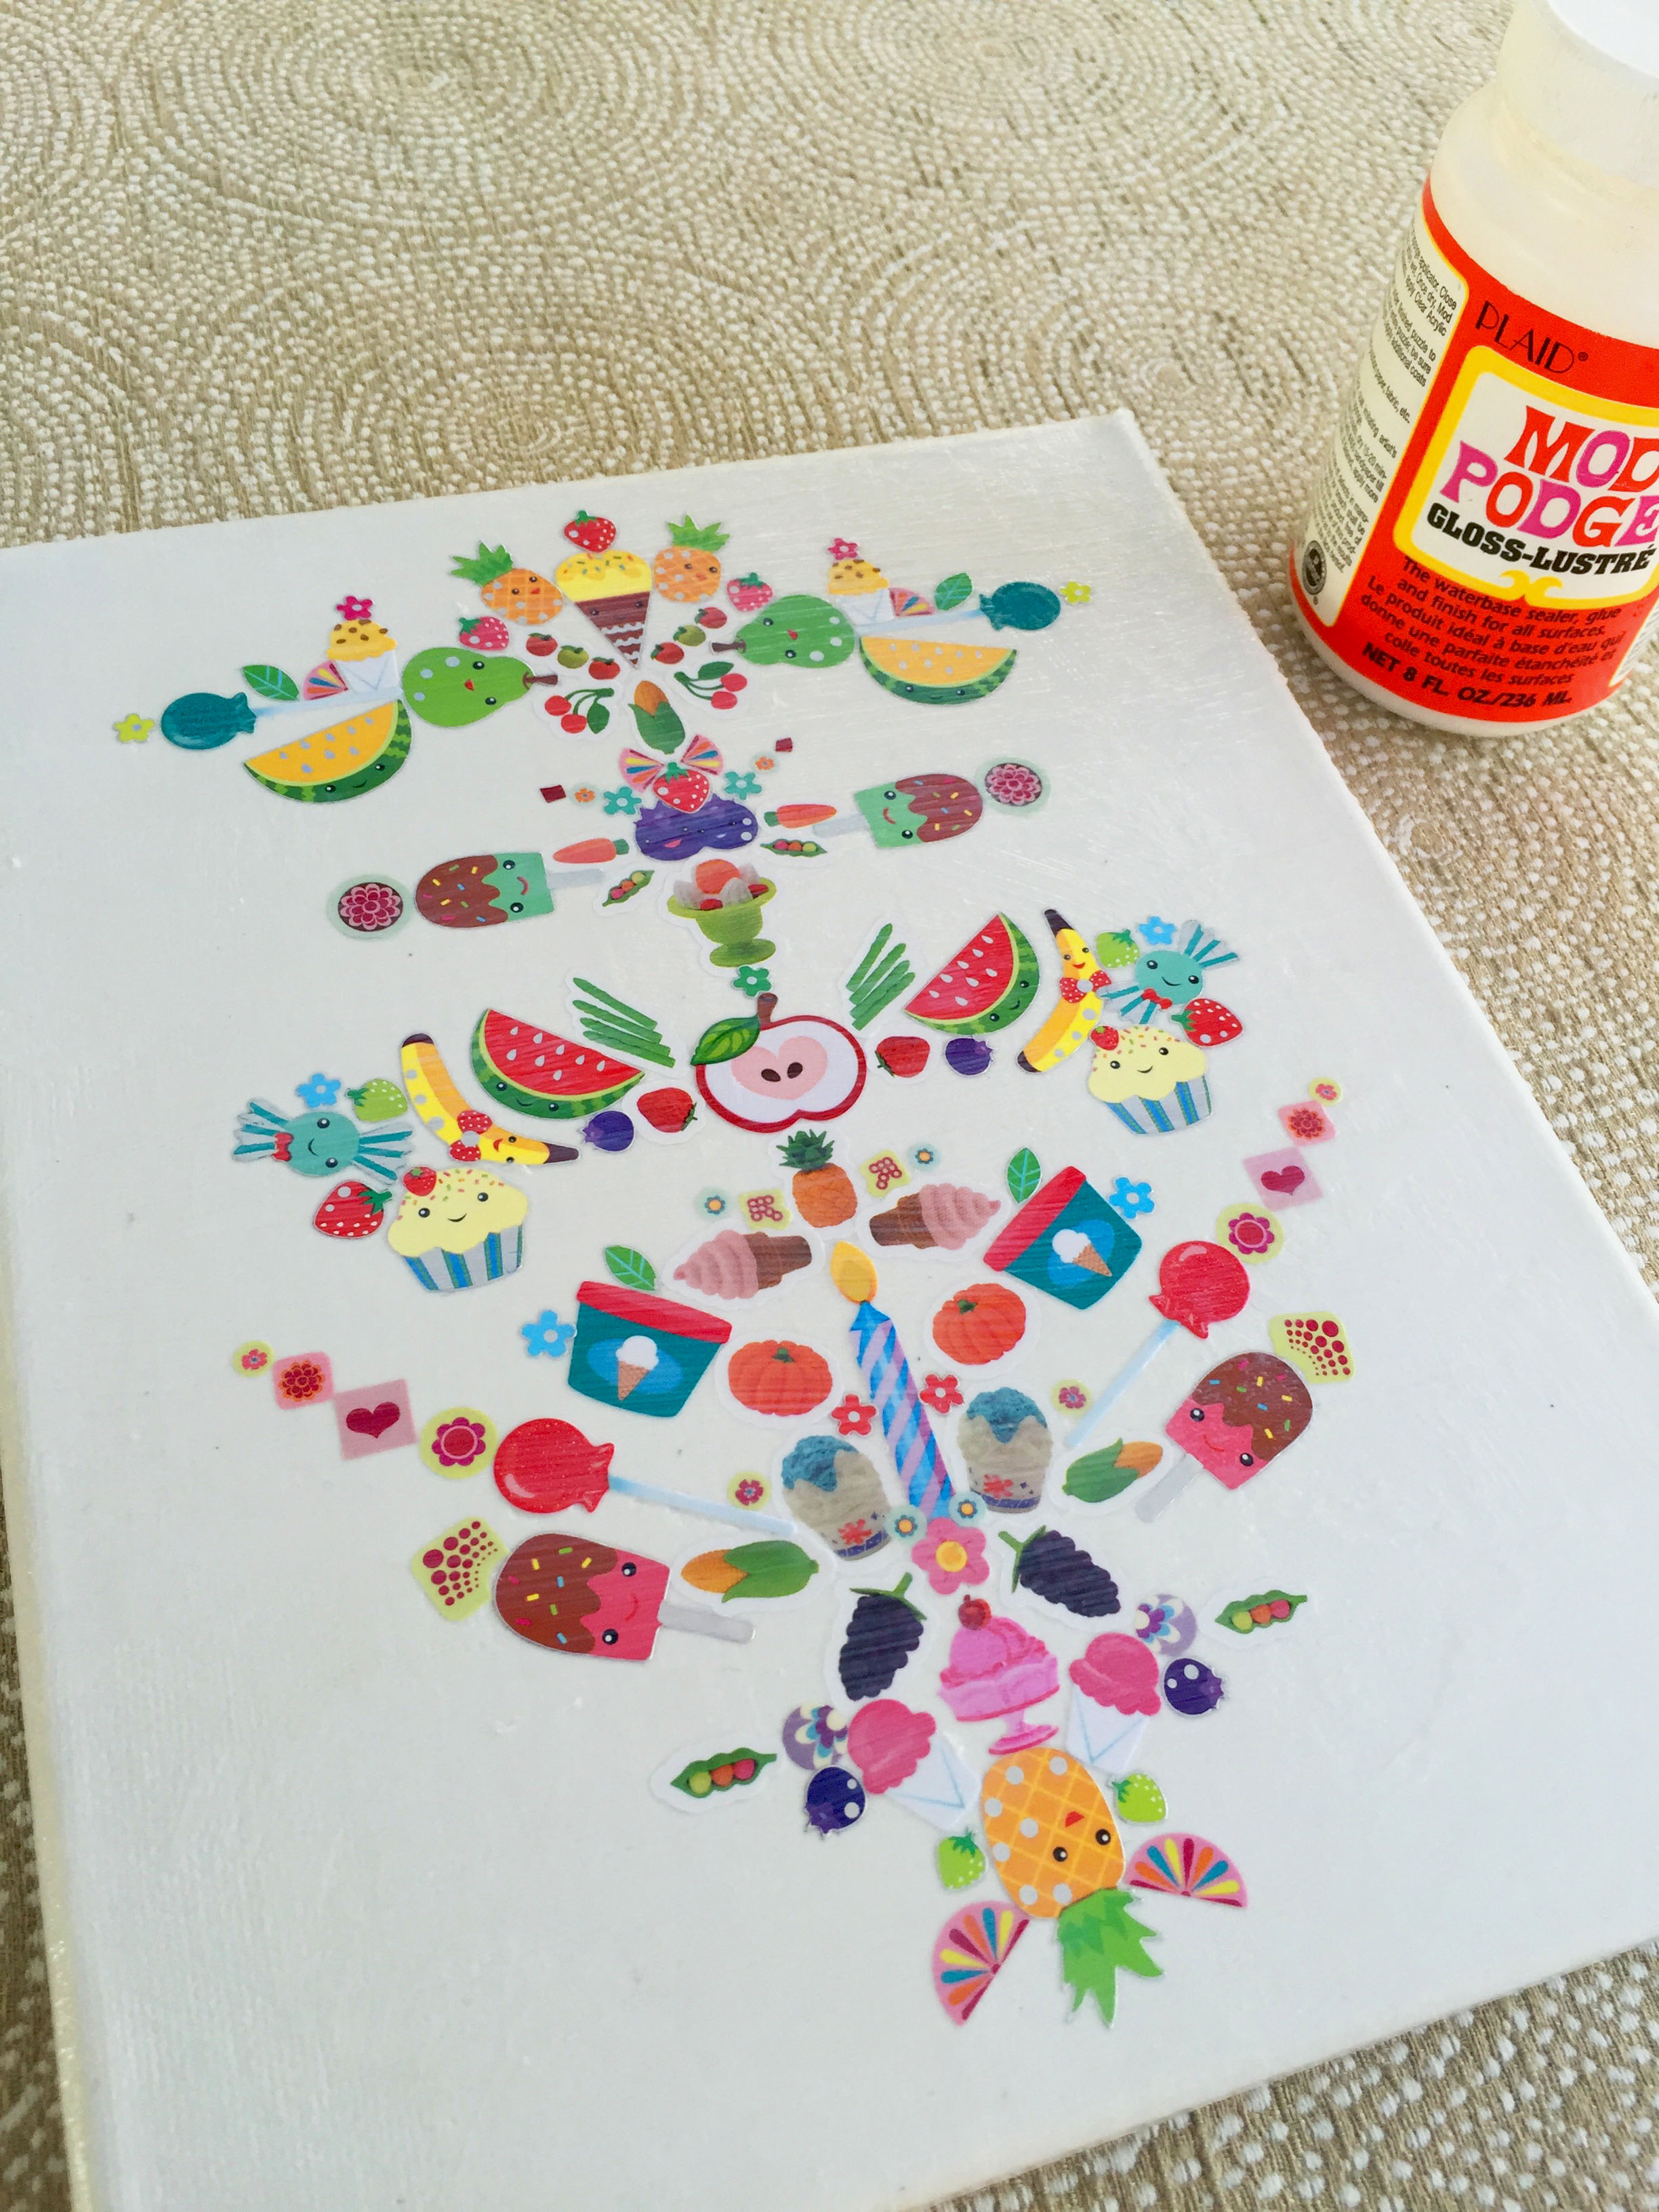
• Mod Podge (Matte)
• Mod Podge (Gloss)
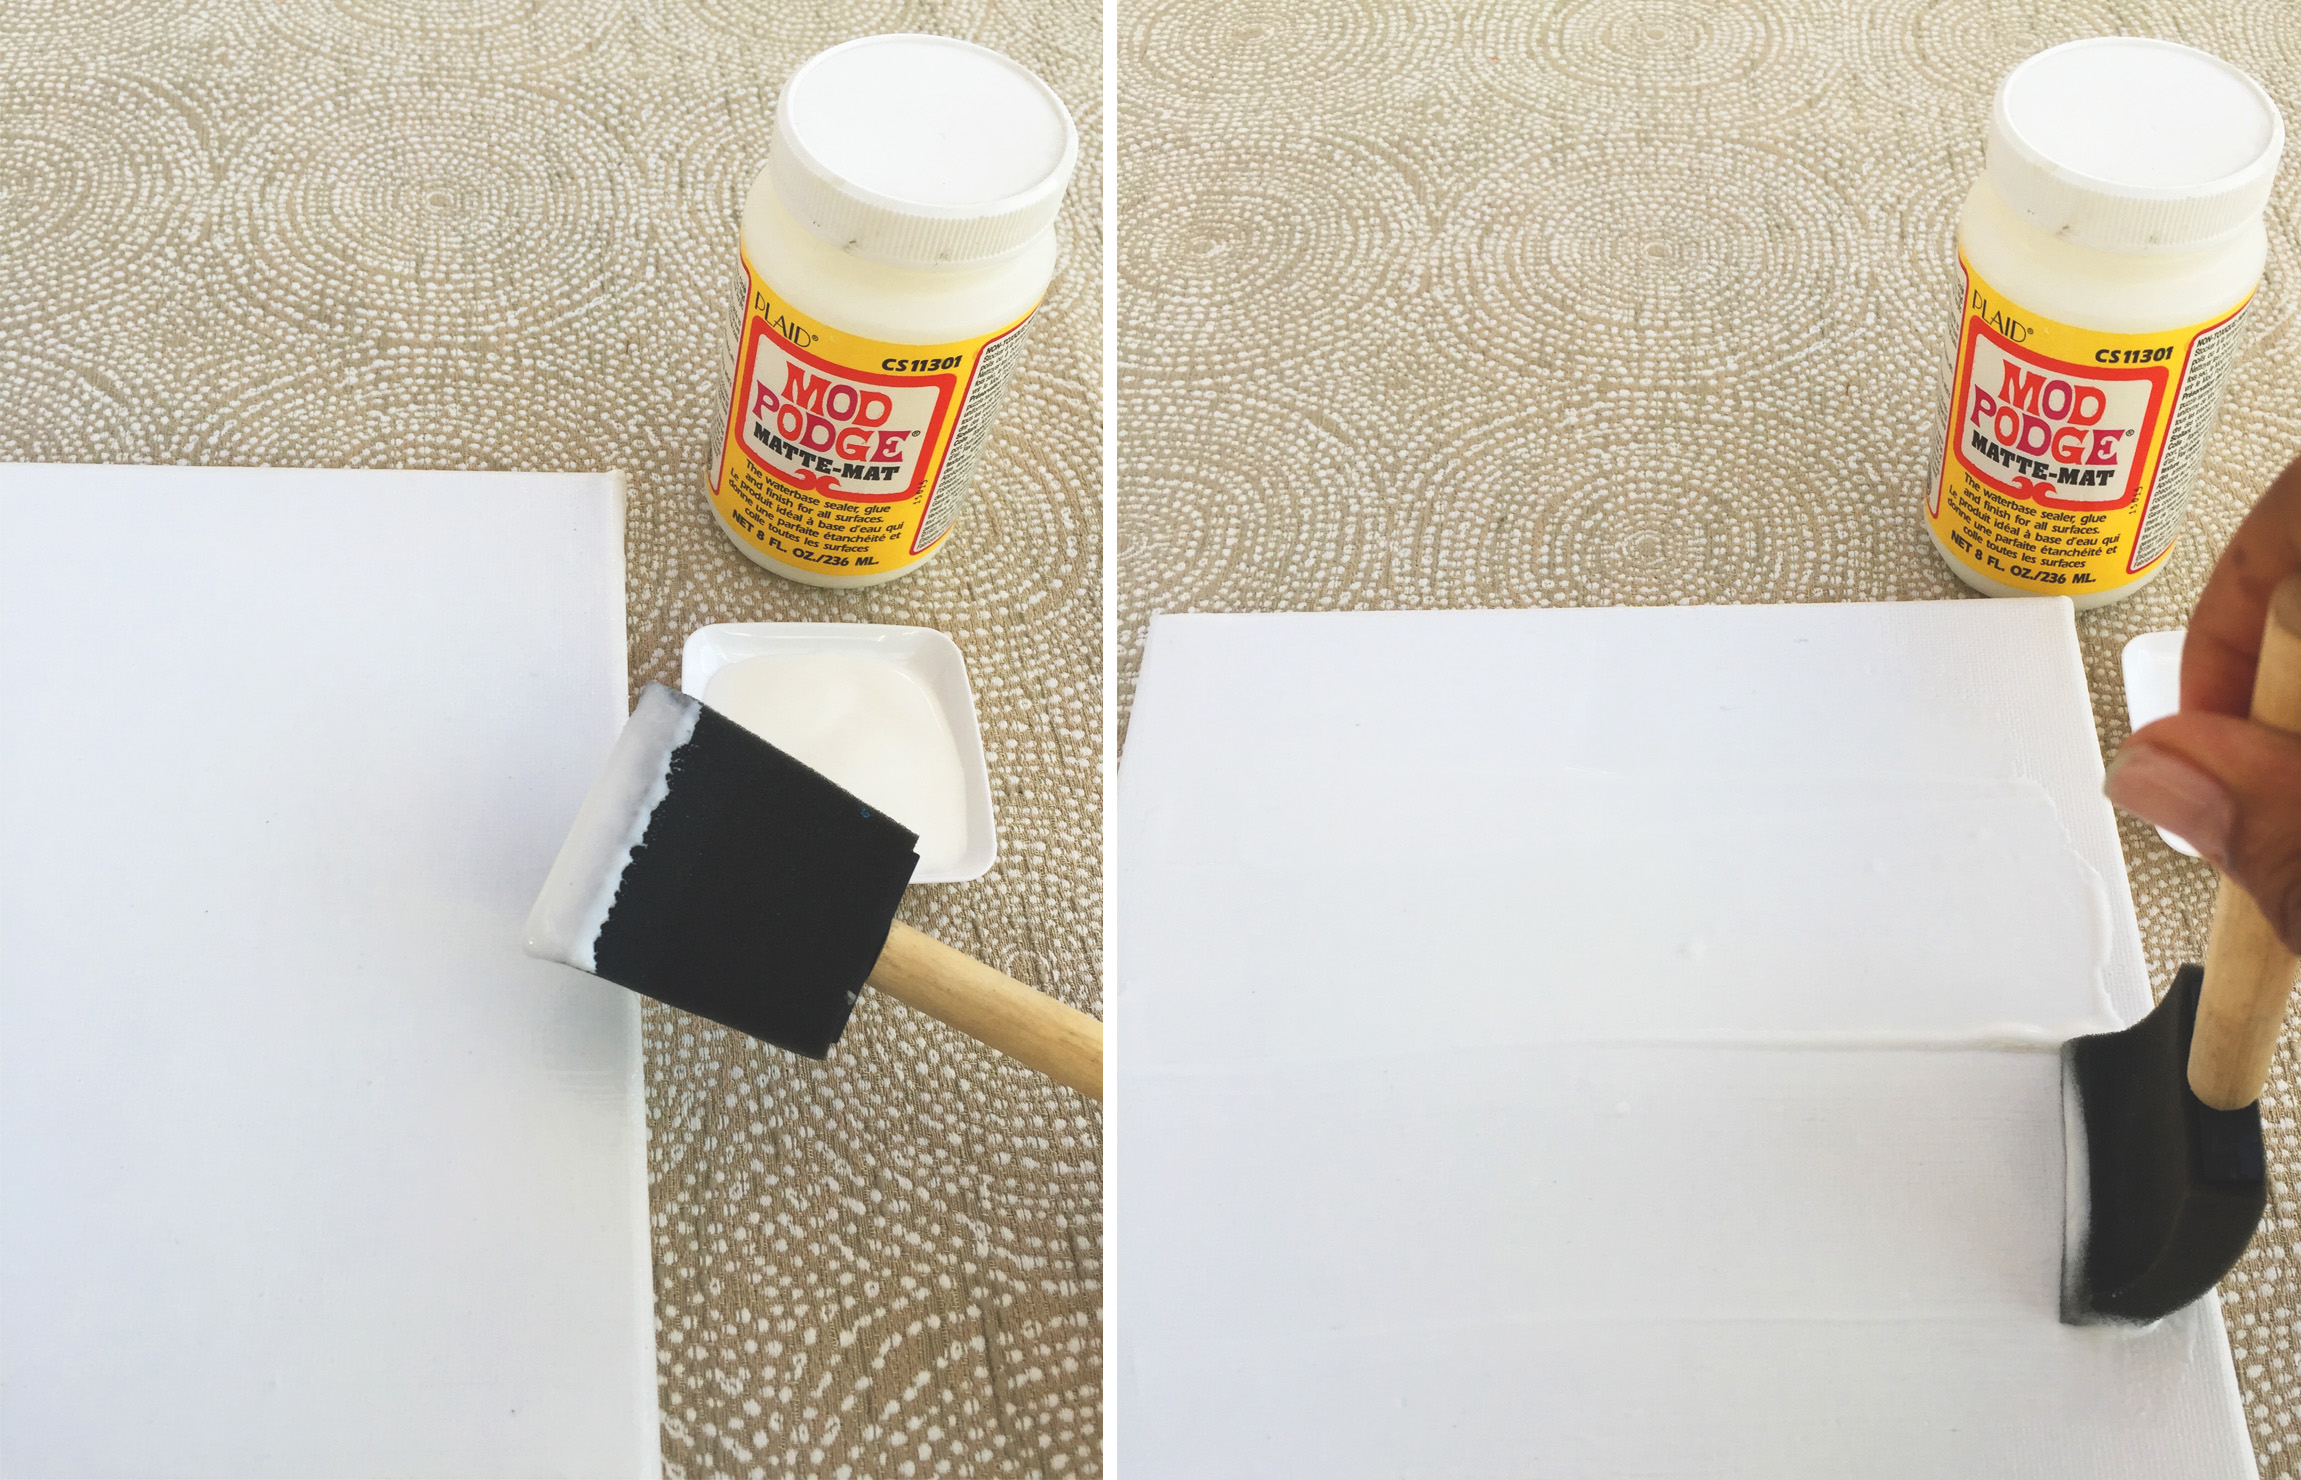 Start by applying the Matte Modge Podge on your canvas with the foam brush. Cover the whole canvas and let it air dry completely. This step is very important, as it will fill-in the texture of your canvas, making it really flat and easier for the stickers to adhere.
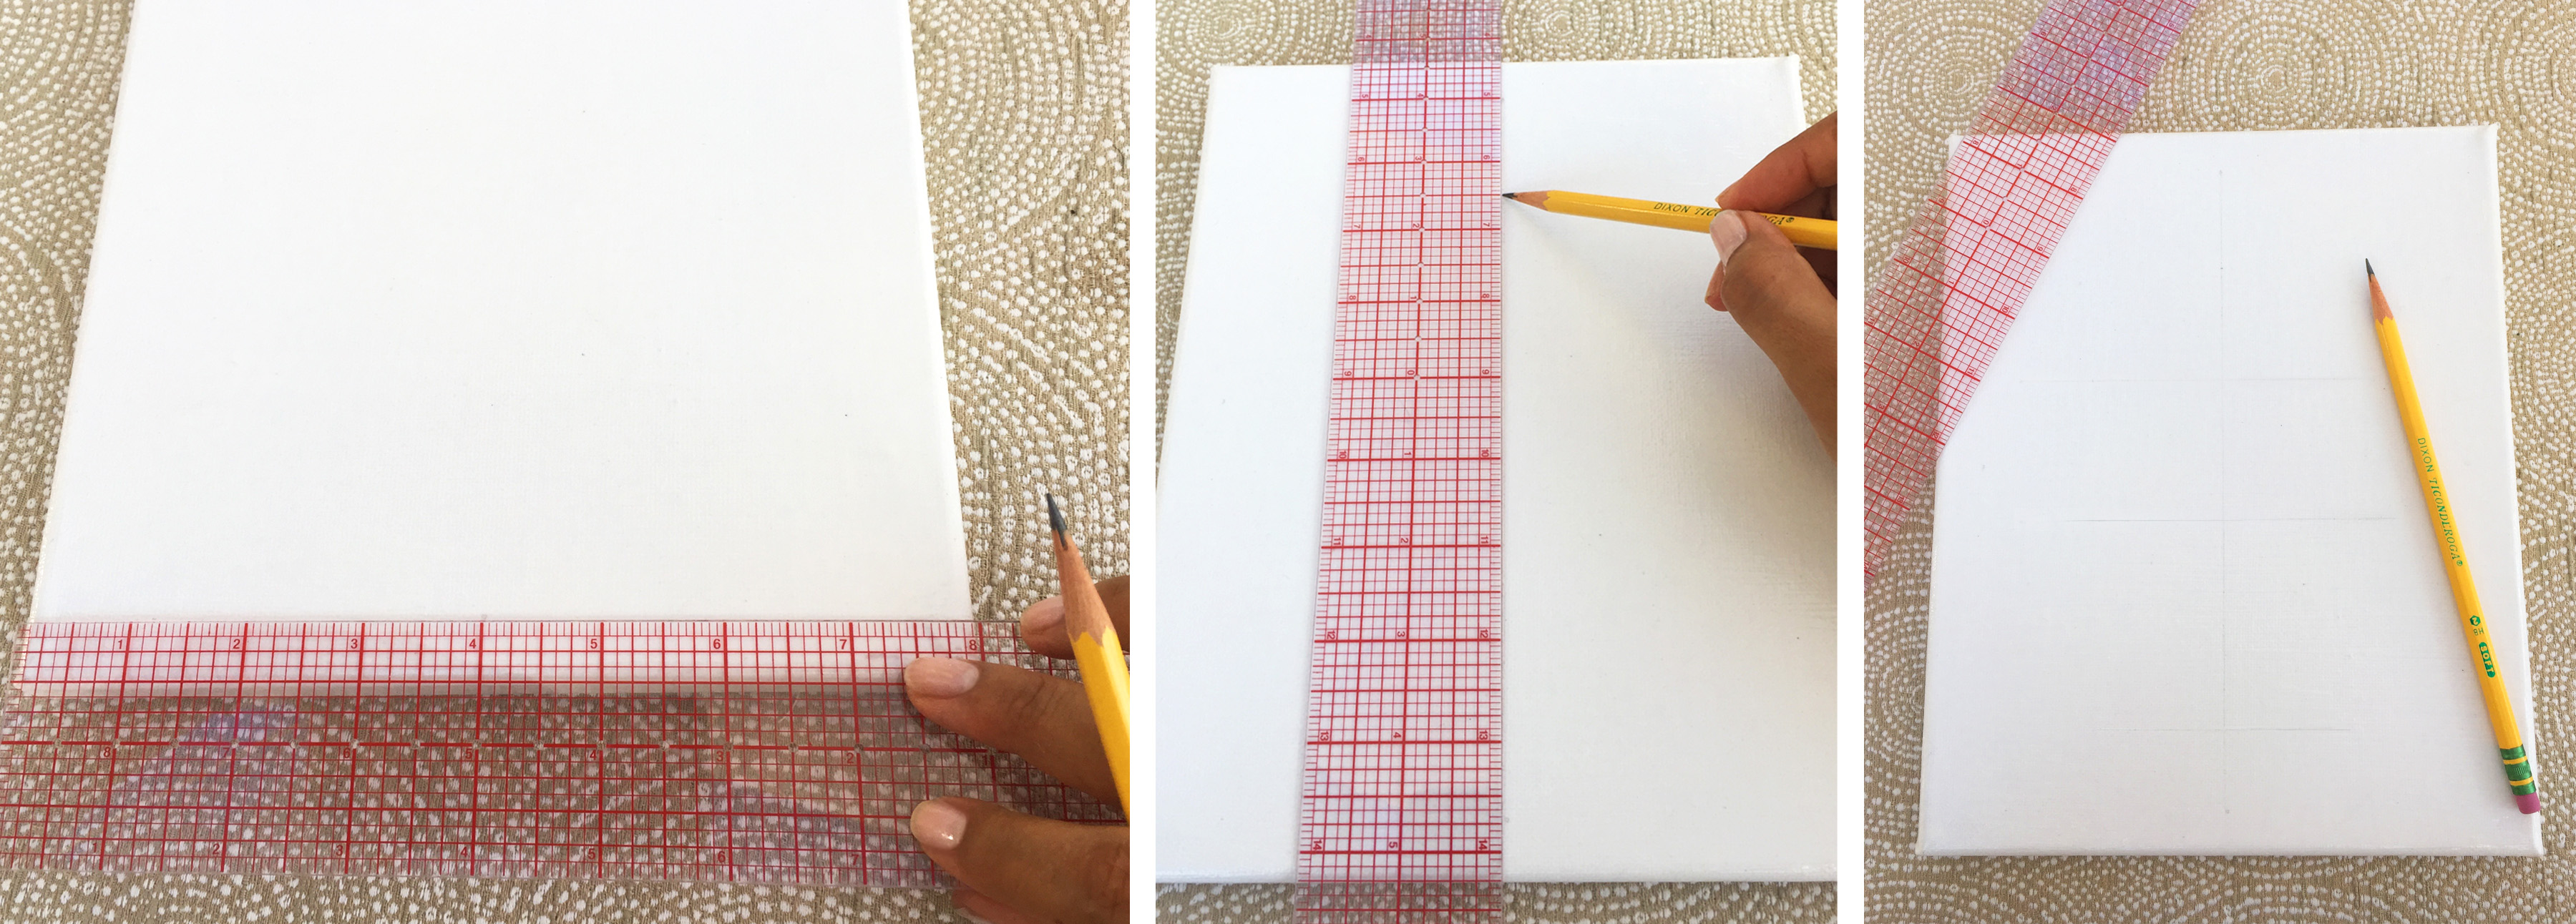 Once the canvas is completely dry, you need to draw some light pencil lines to guide you thru out your design.
Now these are only guides, once you start putting on stickers, please feel free to let the stickers guide you where they fit the best, free style!
– I give myself a half inch border all around the canvas, but only mark it with a dot.
– Find the center of the canvas & draw a straight line thru, leaving that half inch above & below the line.
– Lastly I draw faint lines across my centered line at different points, this will help greatly when I’m laying down the stickers.
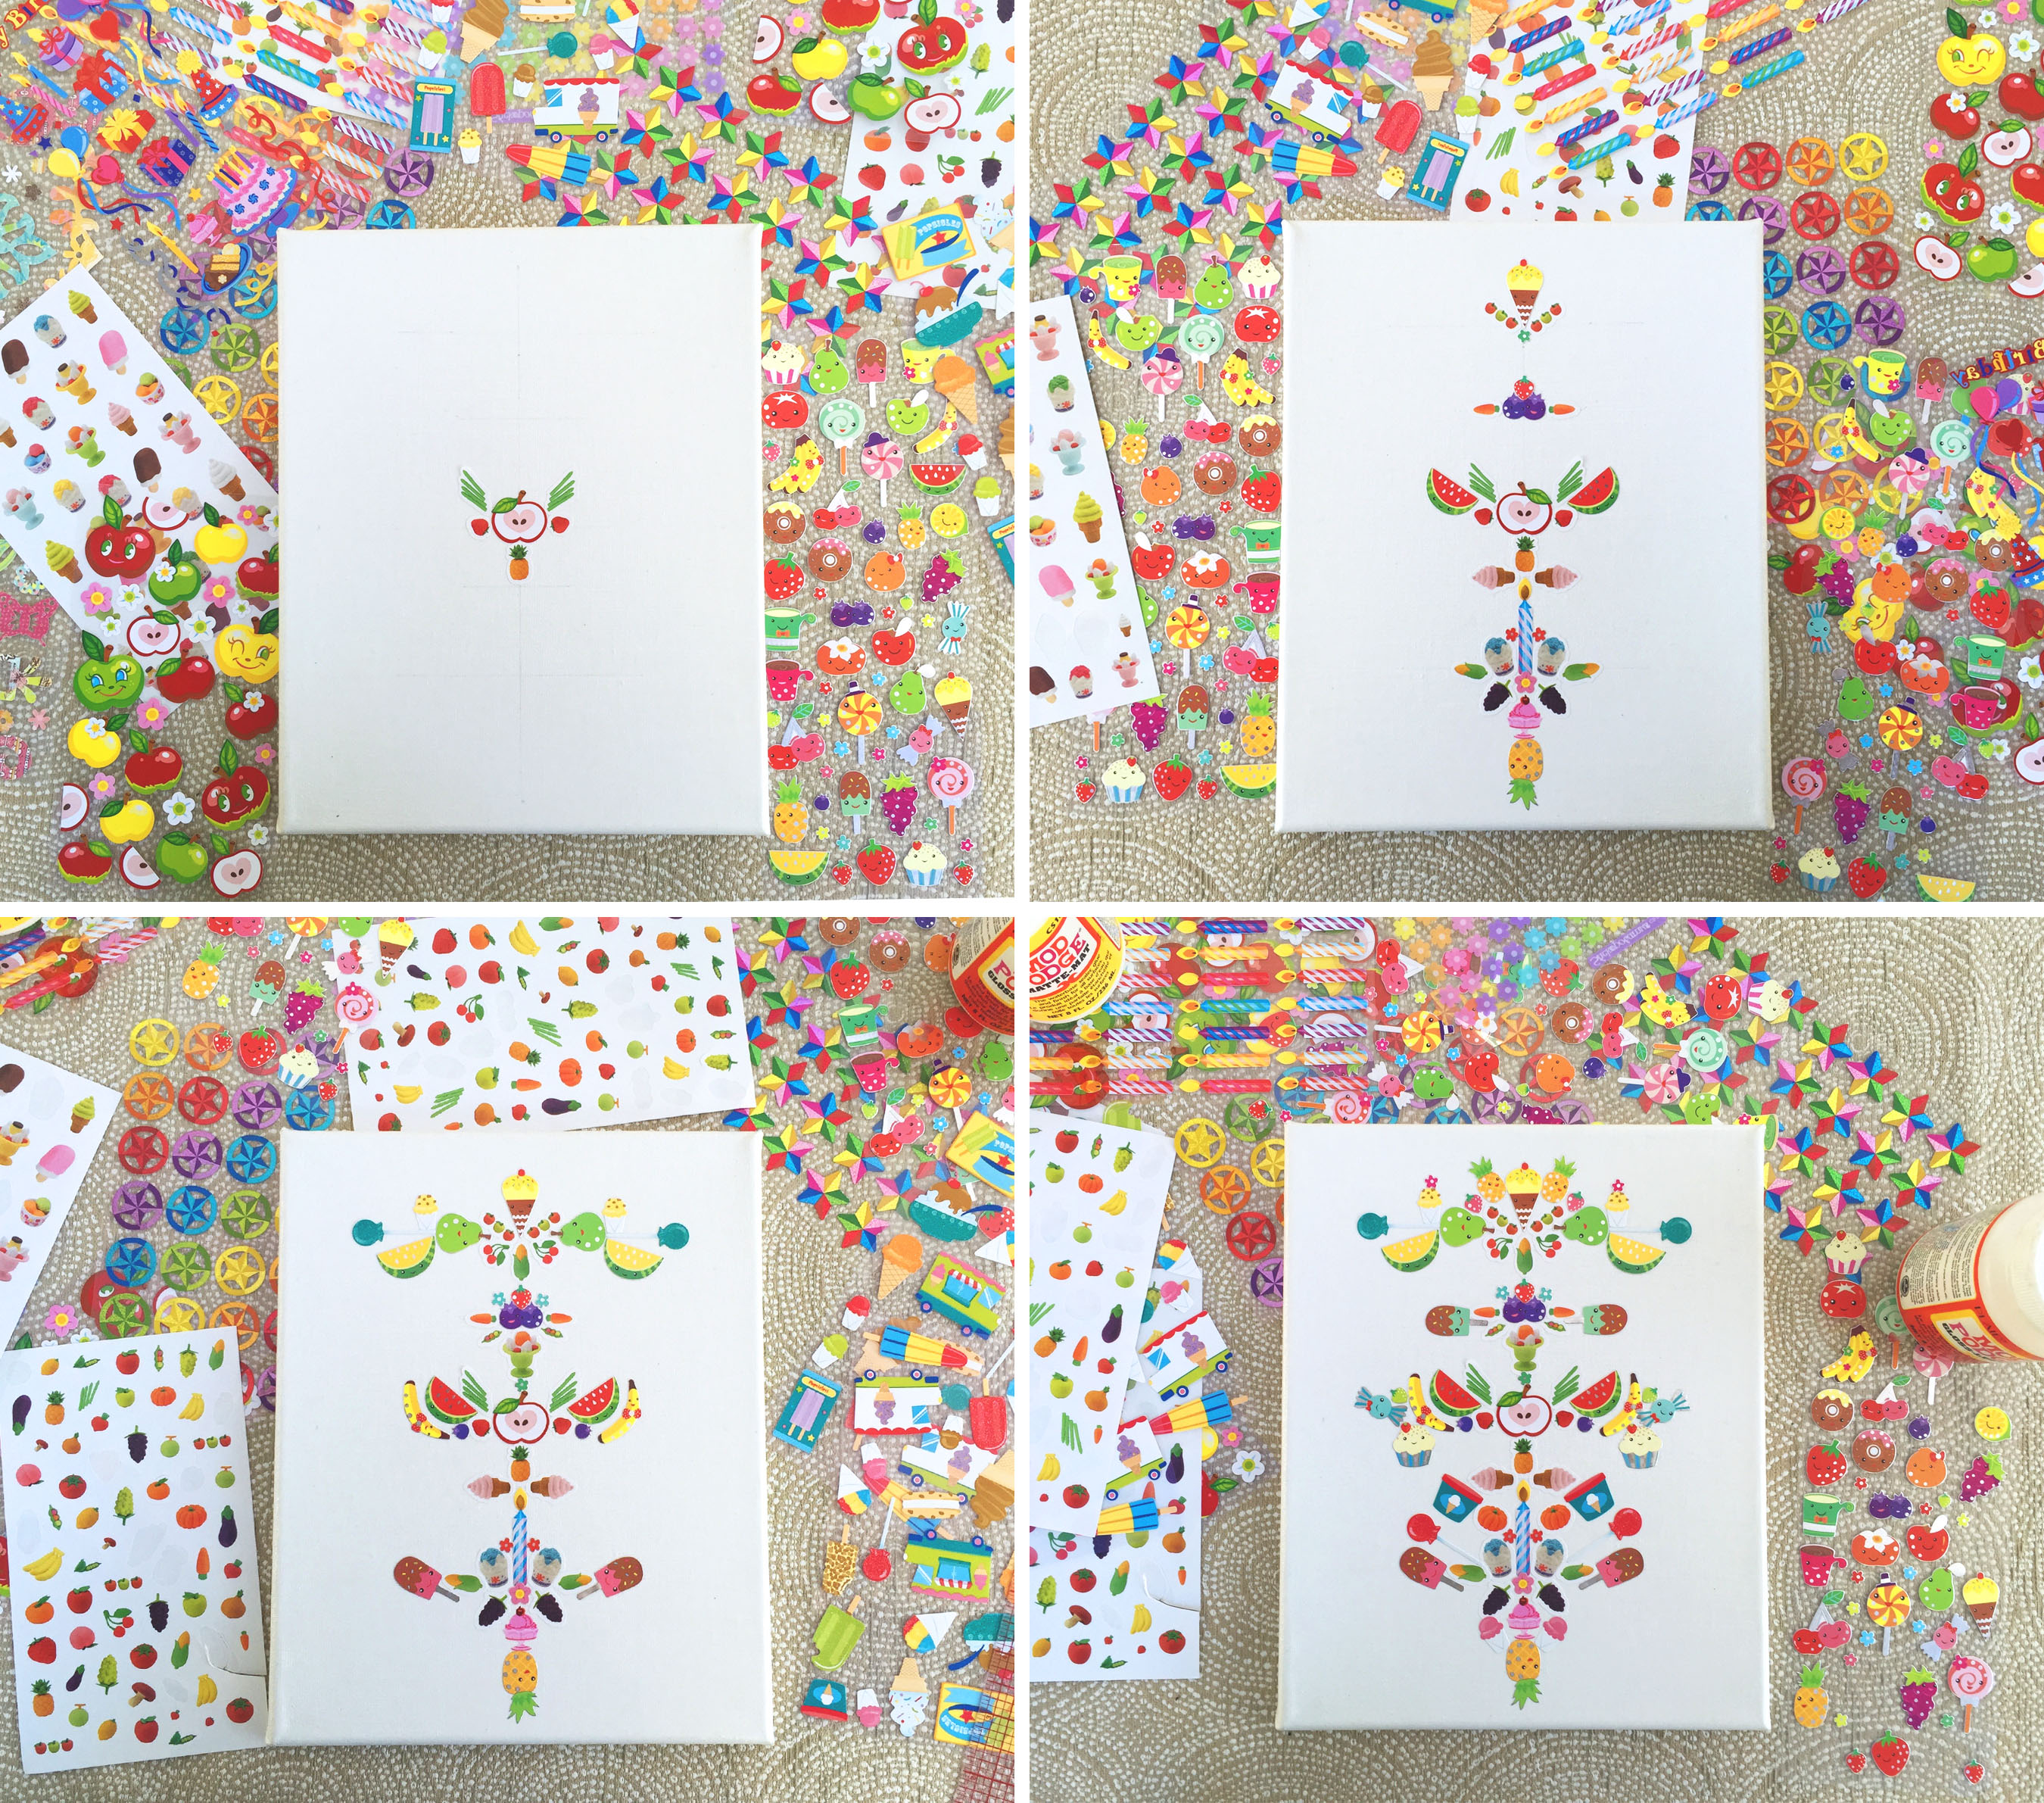
The fun part begins! I chose a dessert & fruit theme for this piece, but you can do whatever…the most random the better actually.
I start with a larger sticker on the center & work myself across. The use of the tweezers comes in very handy right about now if you are working with small stickers like I was. Keep going until you feel your piece is complete.
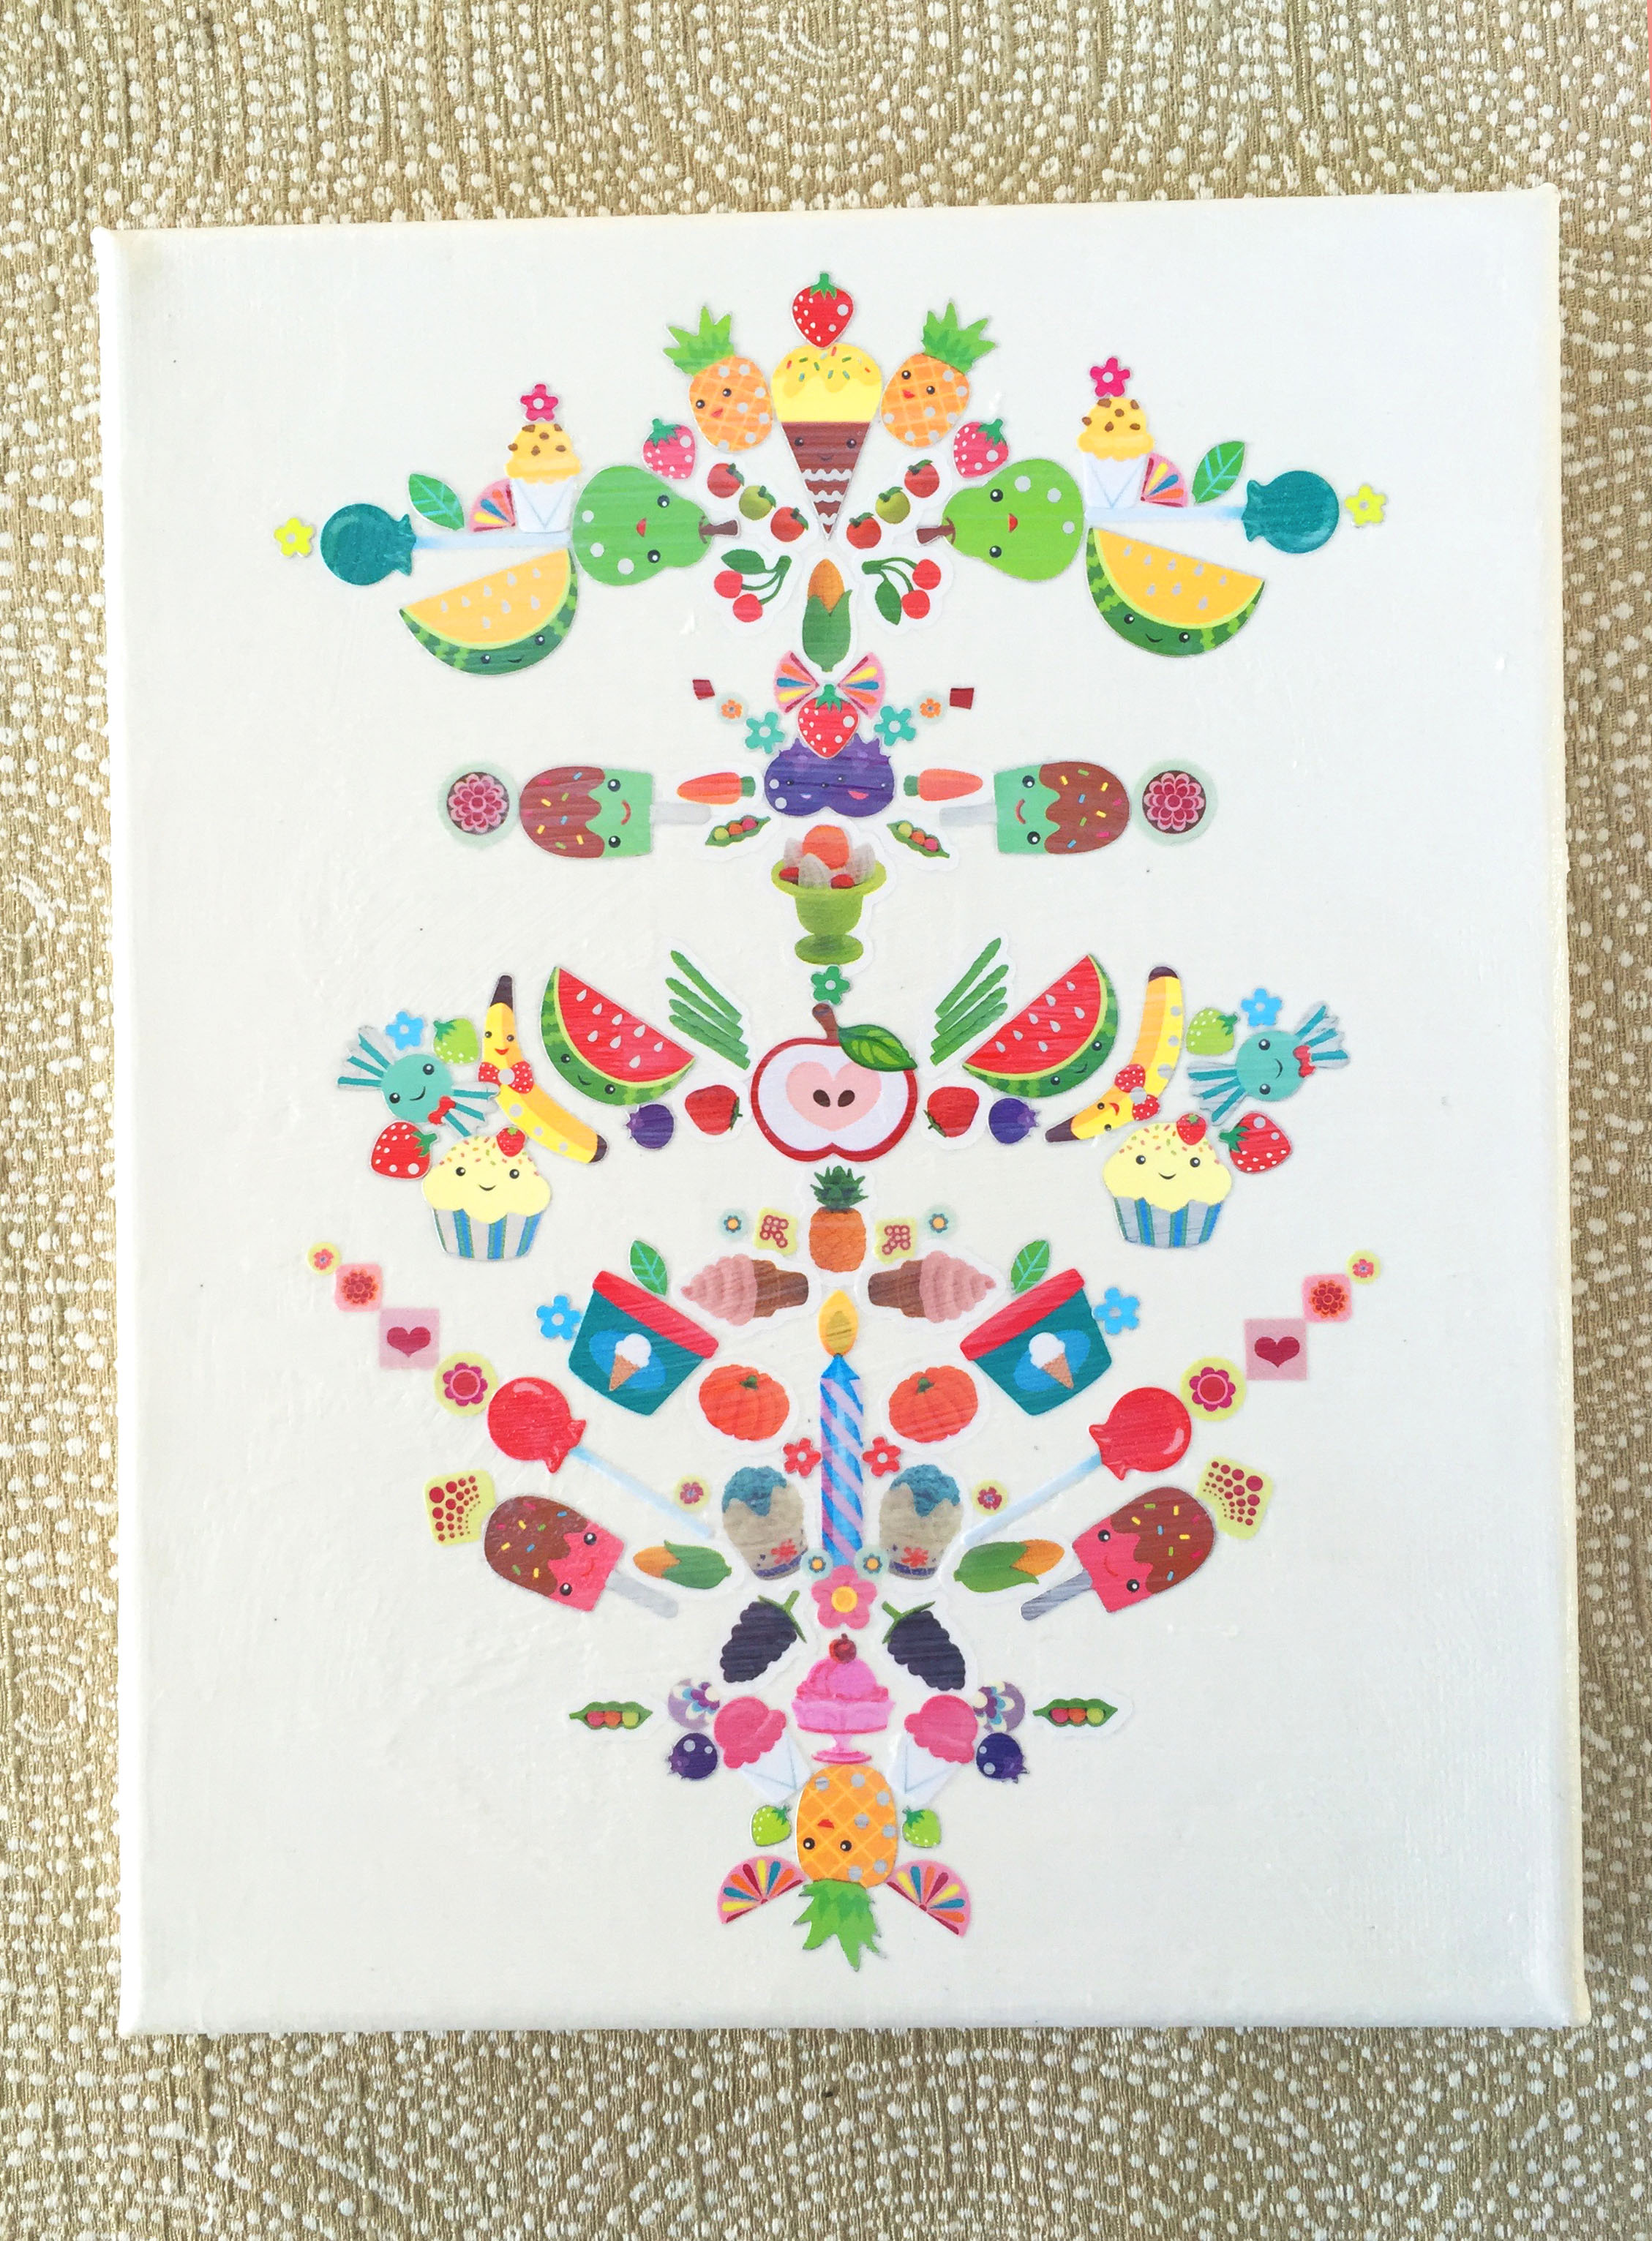
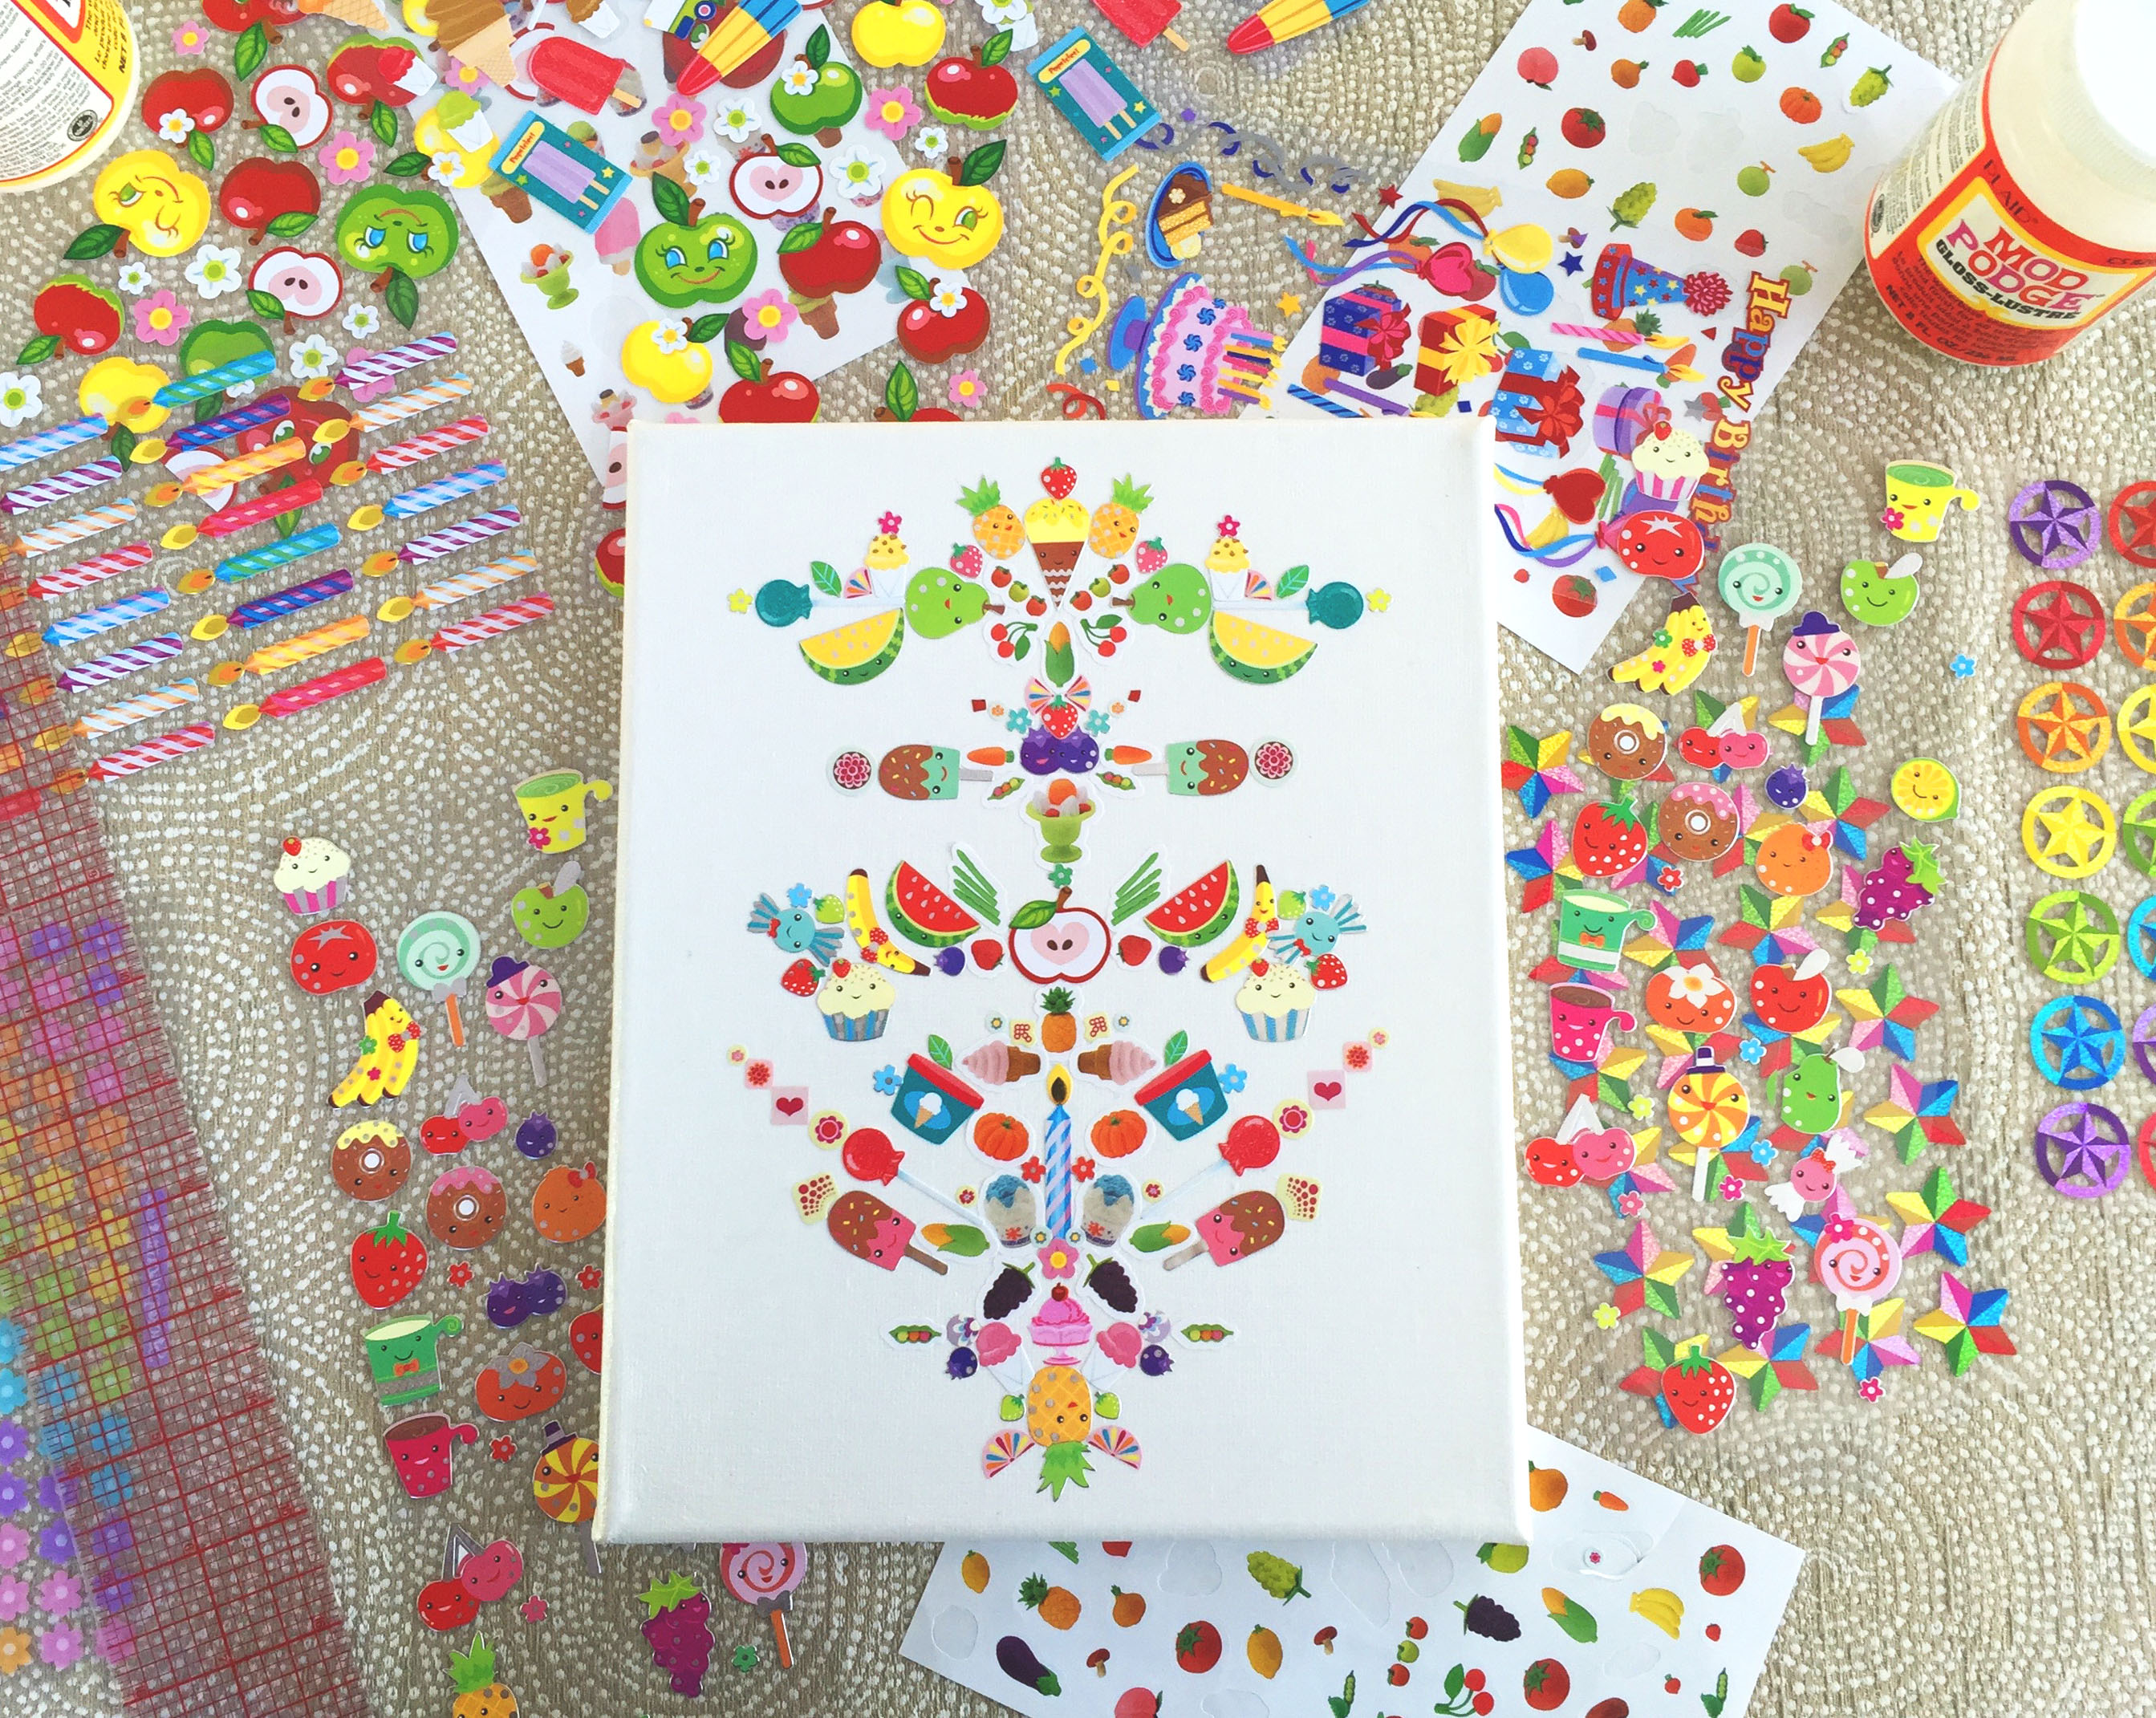 Here is my completed piece! Its very relaxing to peel and put the stickers on the canvas. Almost like a creative puzzle you are coming up with on the spot. The kids like to make these as well by the way. I give them the bigger stickers and the ones I probably won’t use, plus they have sticker books as well…I draw them lines on a 8X11 and we all sit around the table doing sticker art.
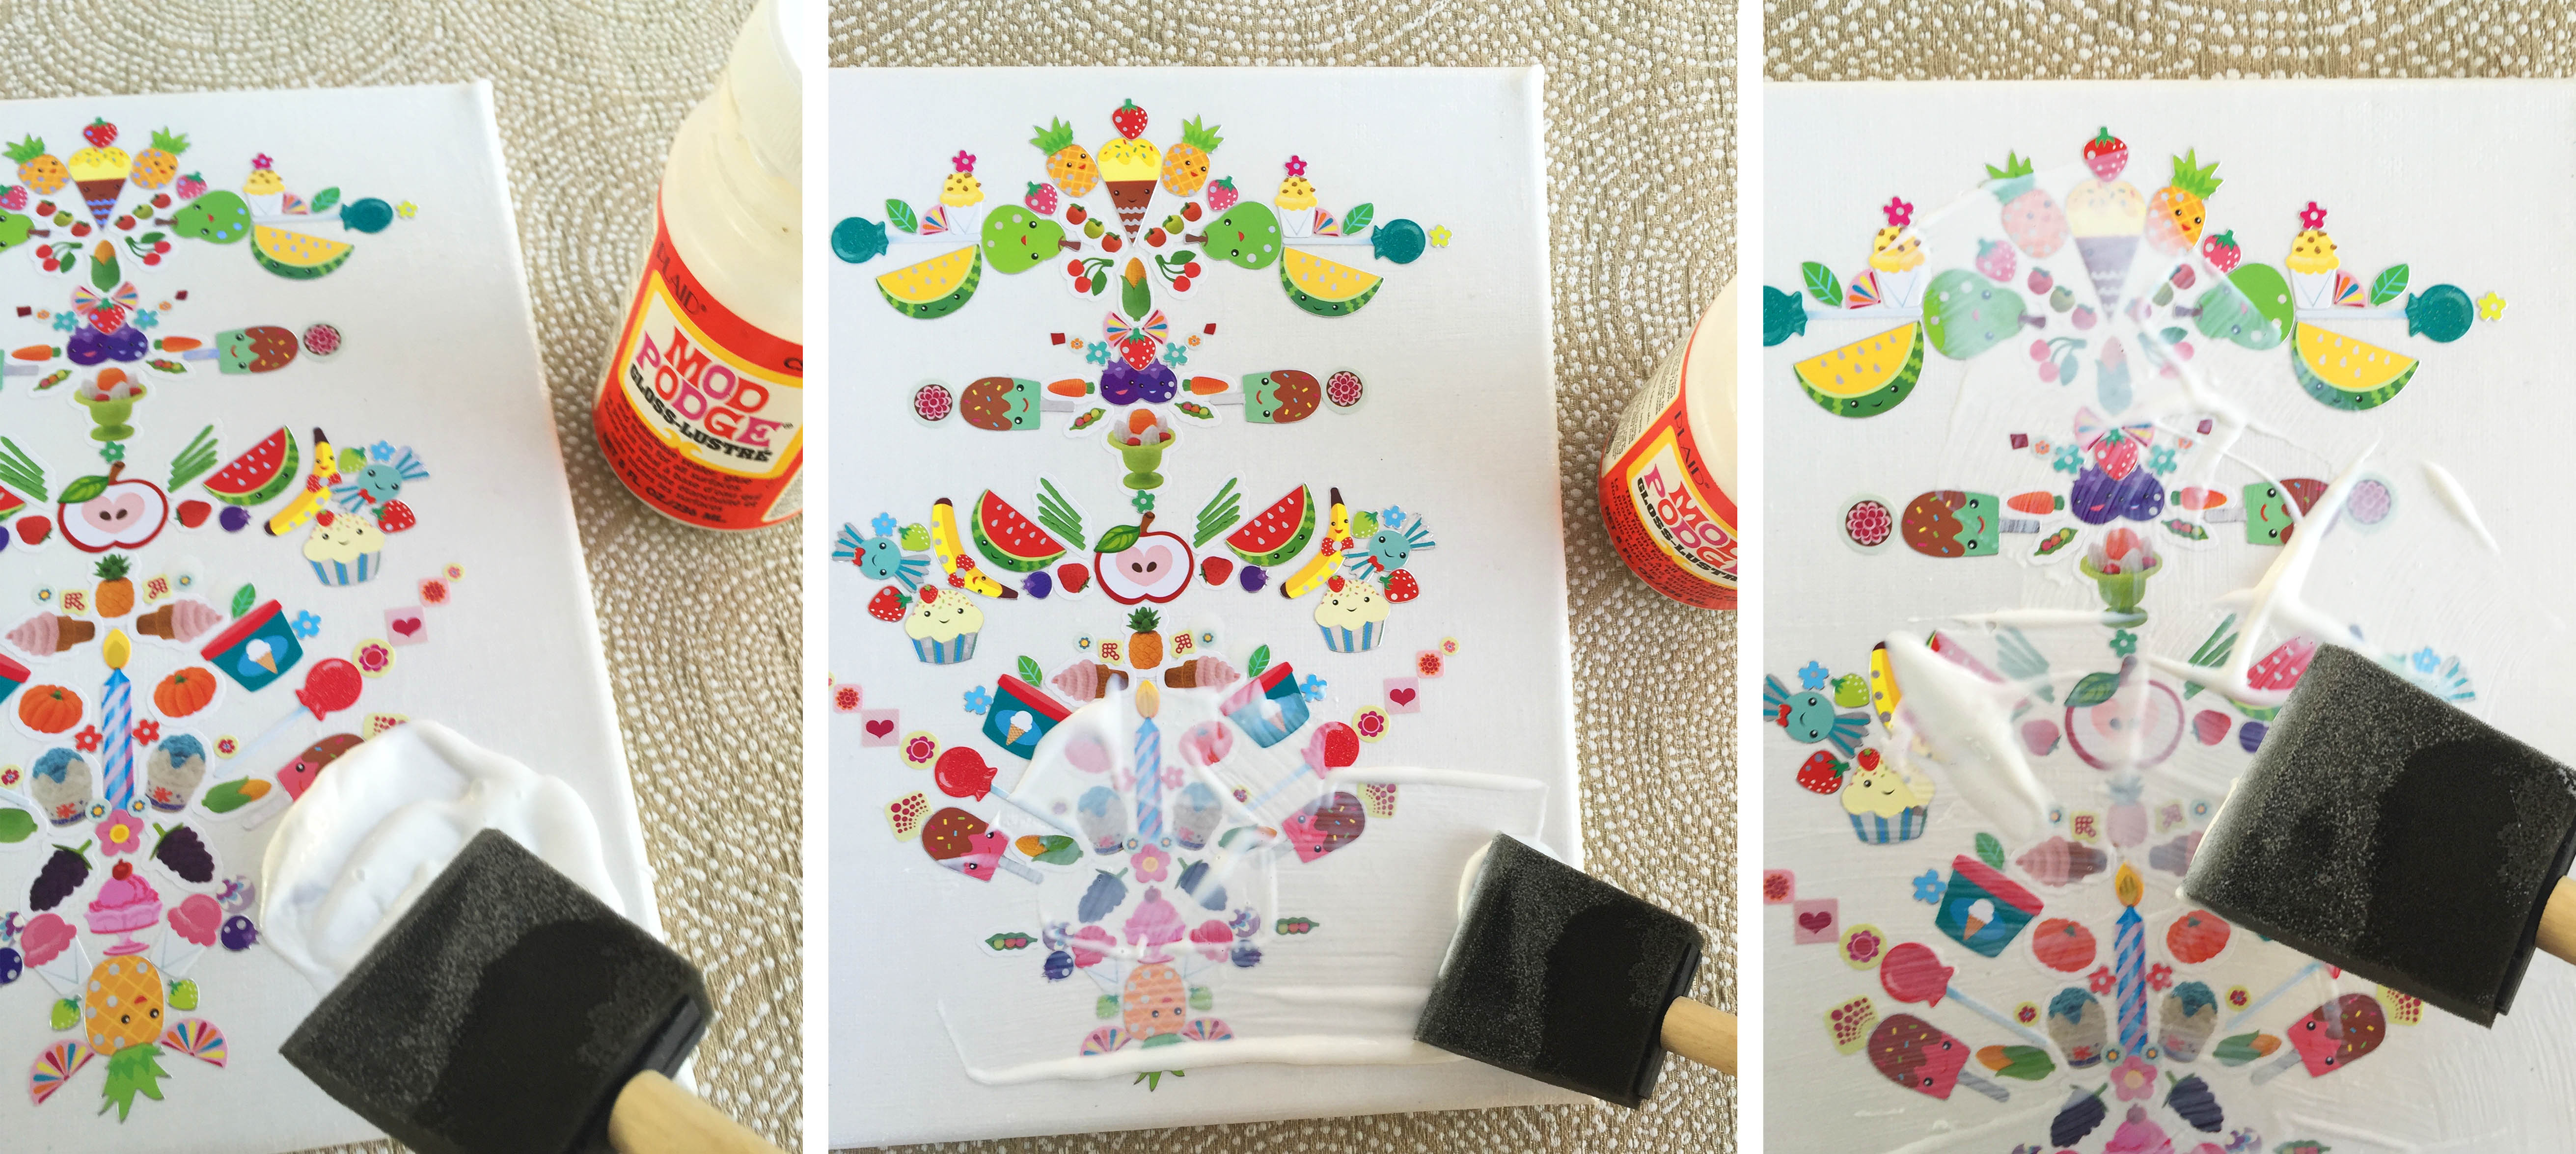 The last step is to seal your art so you can enjoy it for years to come. Using the Gloss Mod Podge, add plenty of it on your canvas and brush it on very carefully, making sure to get every edge & crease of the stickers. You can use the regular brush at this point if you like.
 Ta-Da!! Completed Sticker Art canvas!
 Now you must wait for it to dry completely and once that is done you can display or gift it!
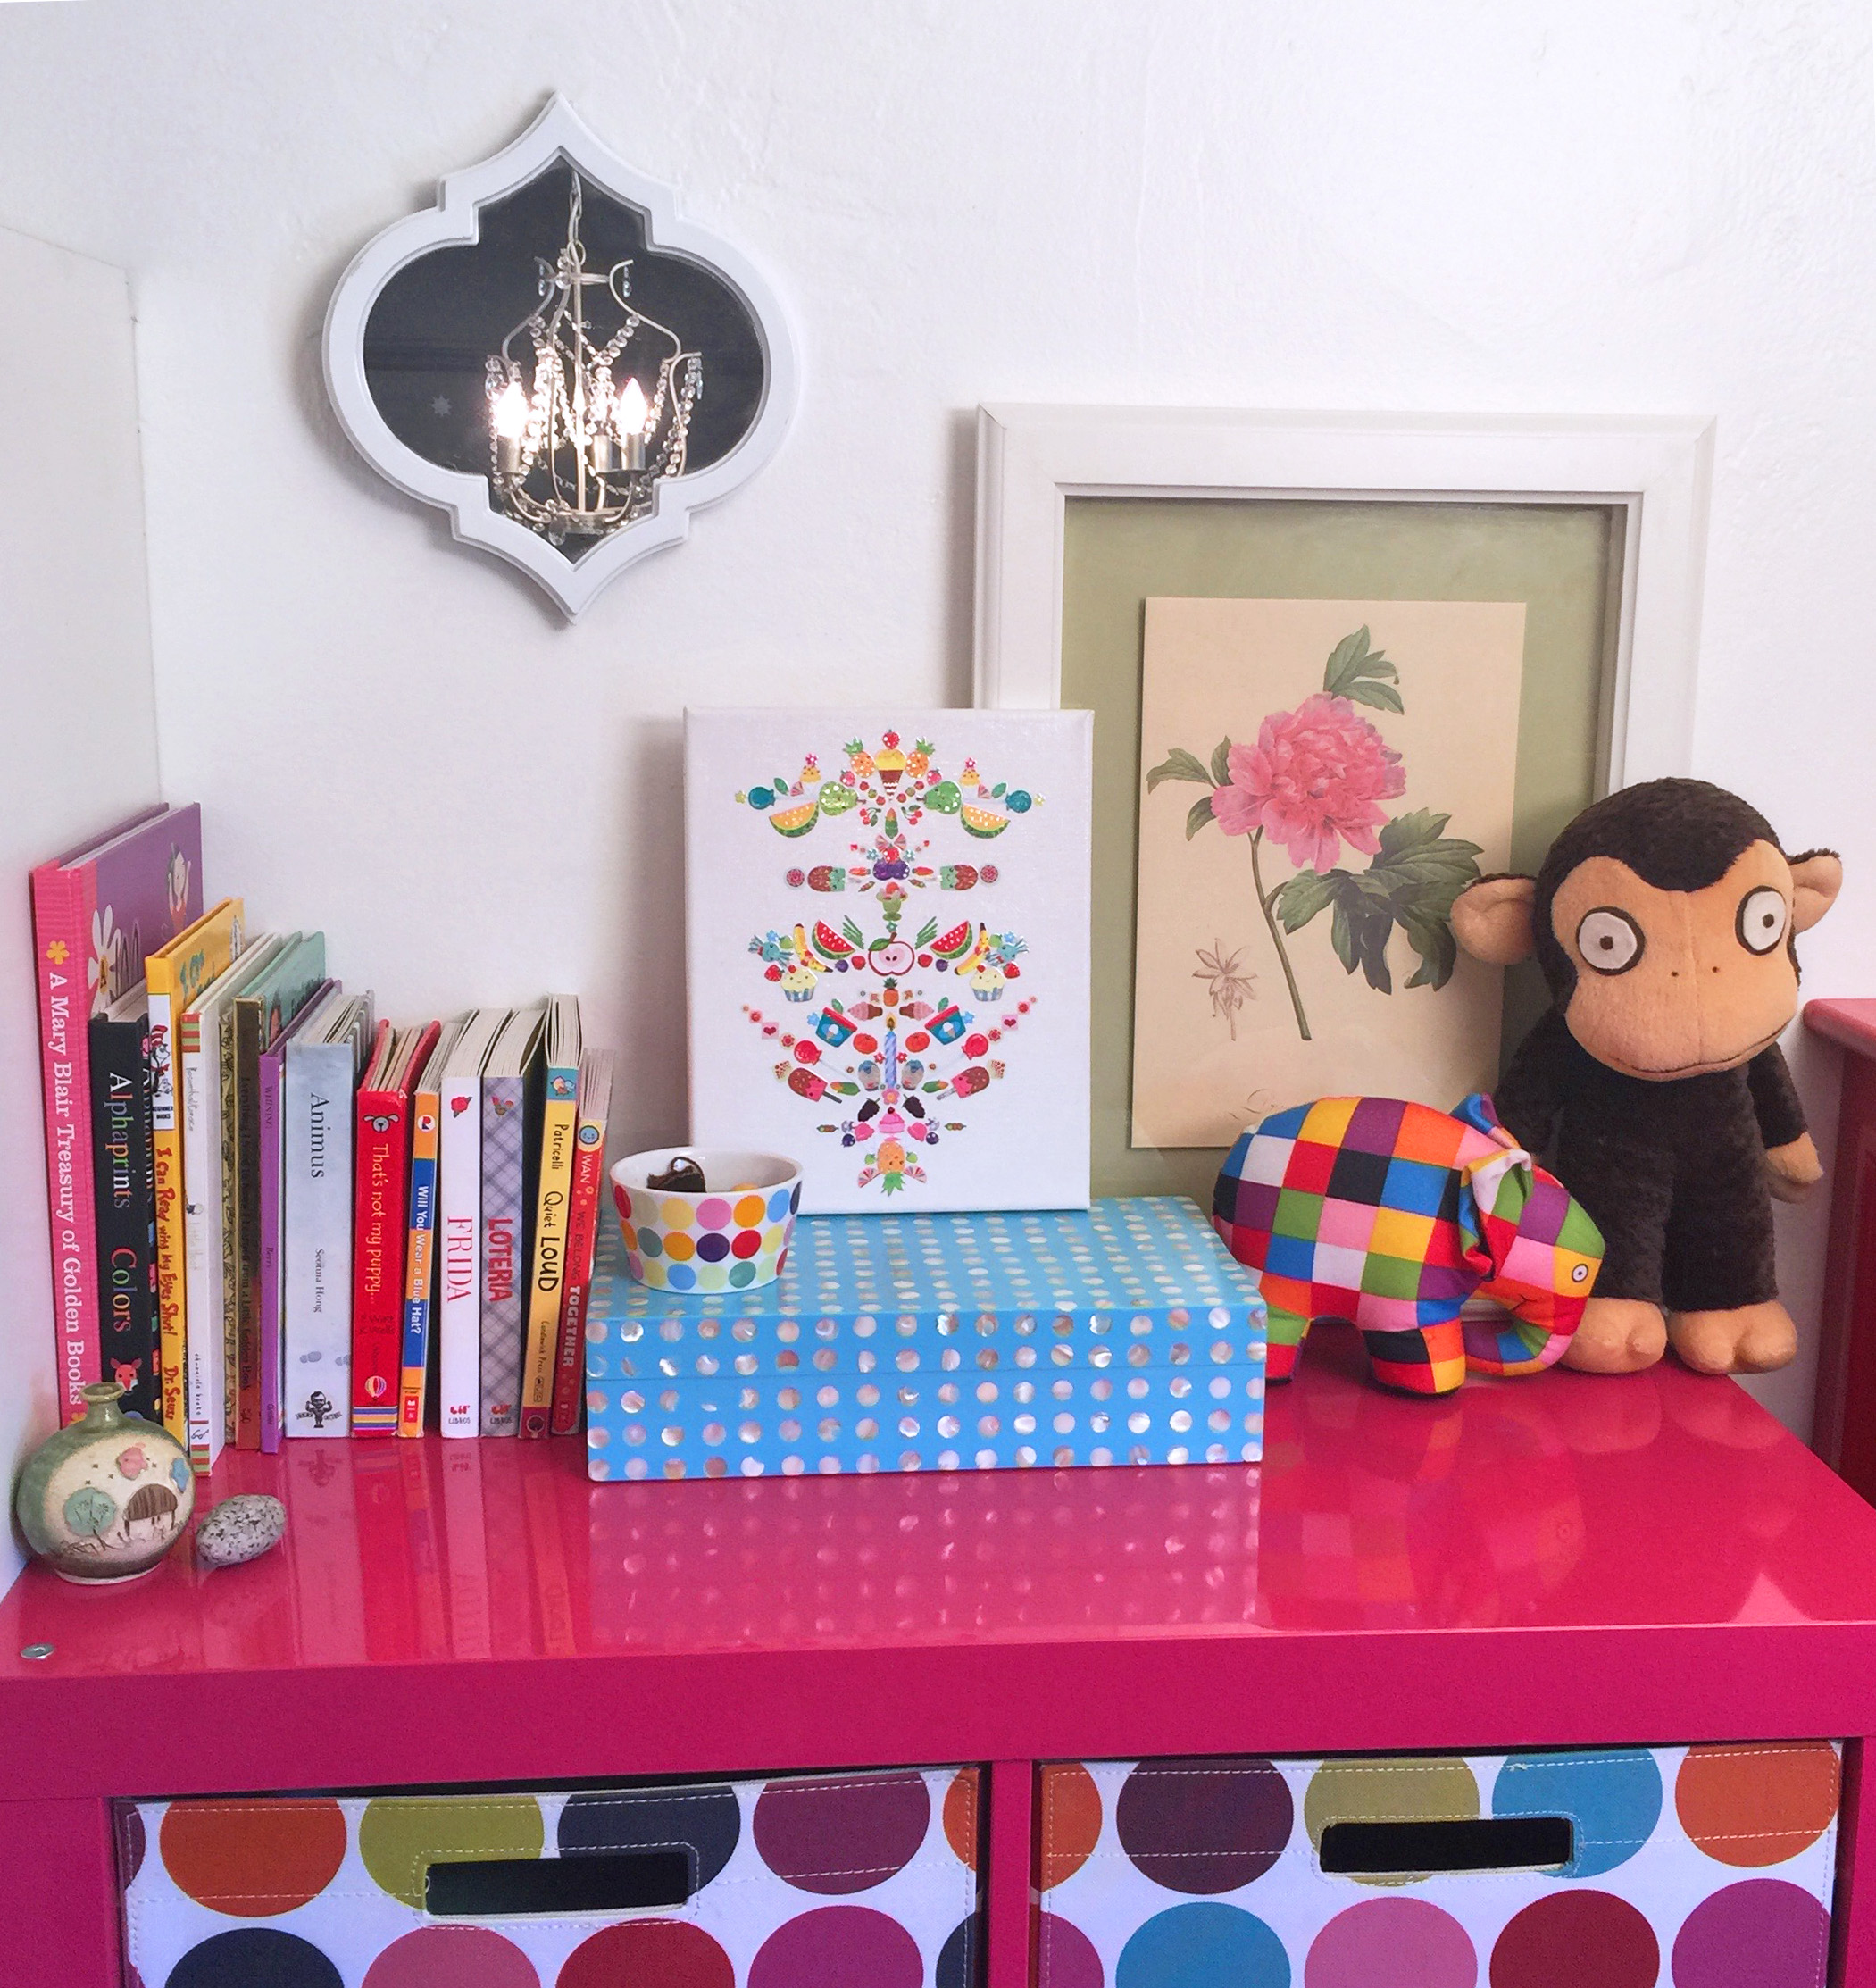 Here is my finished piece in Seli’s room above one of her storage cabinets. It’s a playful art piece that brings a touch of chic & kitsch to any room.
Hope you all had fun making it as much as I did!
Cheers!!

Related posts


I want to try this with my students! Thanks for sharing. 🙂
this is so creative and a must try with my nieces and nephew 🙂 Love it
soooooooooo beautiful and fun!!! thanks for sharing!
What an amazing idea. I will do similar ones for the little nieces and nephew as Christmas gifts.
How amazing! I will surely make some for my nieces and nephew as simple yet fun Christmas gifts.
Love it! Great idea for kids room to have them do their own.
I love the art! So unique and the first time I’ve seen it! Did you erase the pencil lines, by the way, before sealing the stickers with the gloss Mod Podge? Love how you’ve used the pieces to accent your home!
Thank you! The pencil lines get covered up with the stickers, so no need to erase them.Hope you try it, its playful and perfect for a kids room!❤️
Thanks very interesting blog!
Yessss!!!!!!!!!!!!!!!!!!!!!!! LOL